Creating a Quote
Walk through the full process of creating a quote — from selecting a customer and adding items through to finalising and sending it by email.
Approx. 10 minutesBefore You Start
- You need at least one customer set up.
- Having a price list makes adding items faster, but you can also add items manually.
- You need permission to create quotes.
Steps
-
Navigate to Quotes
From the sidebar, click Quotes to see your existing quotes. The table shows each quote's number, date, customer, name, and status.
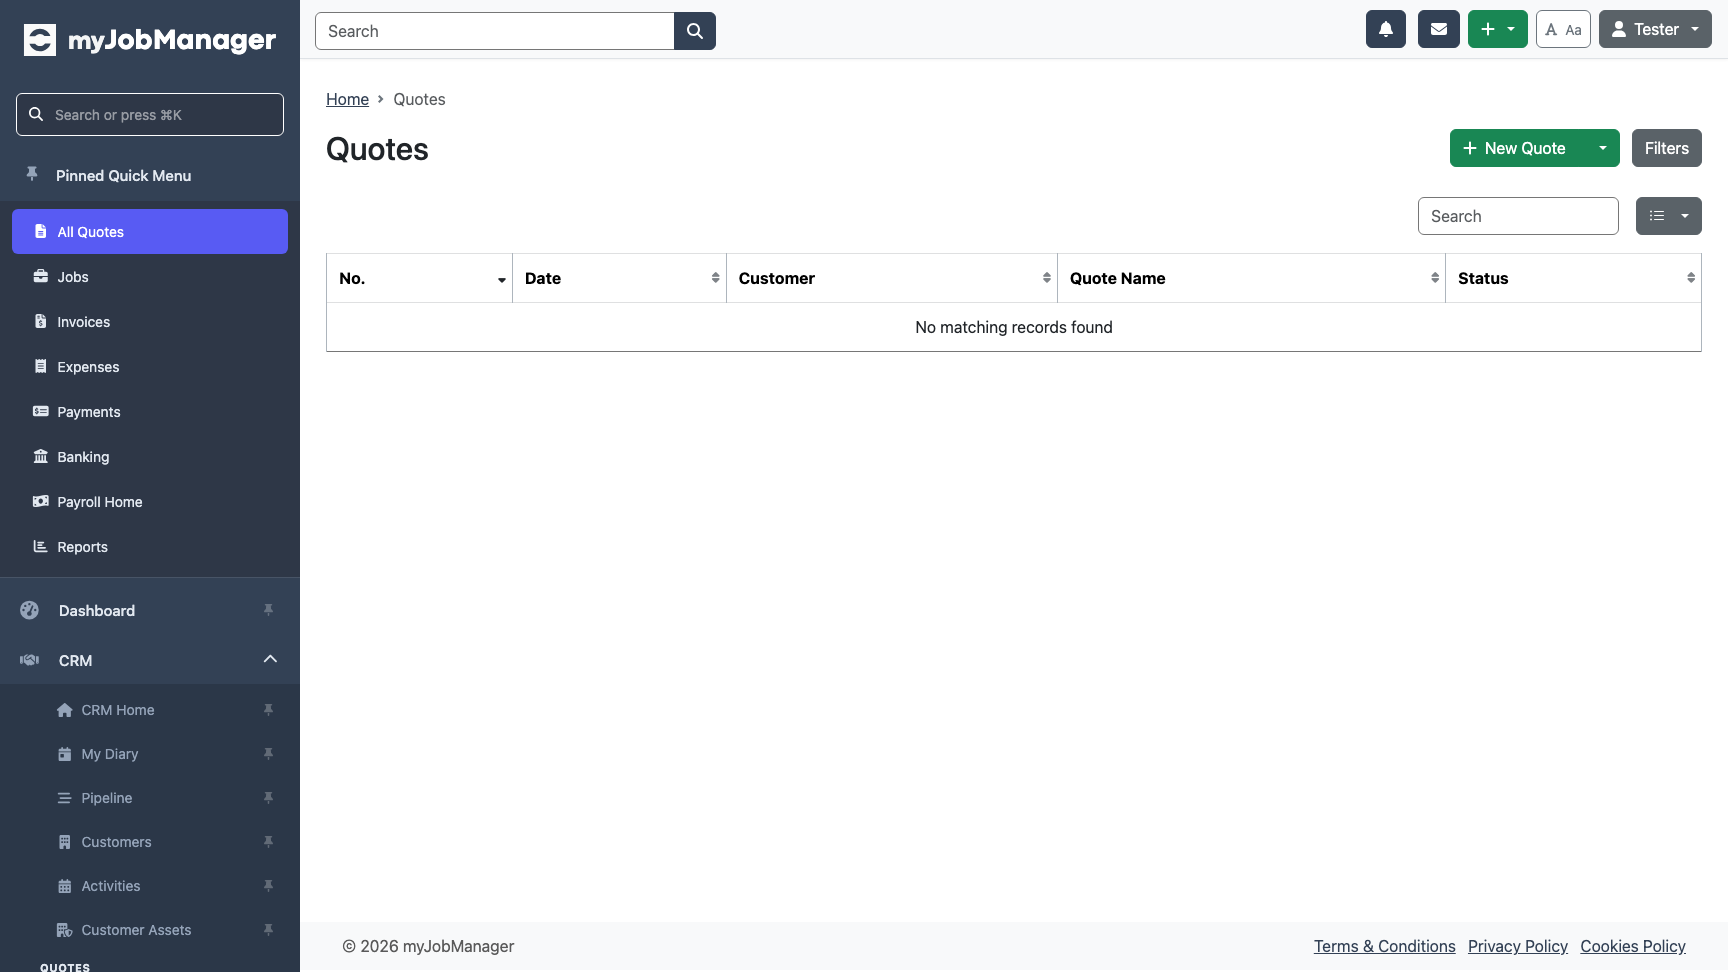 1 Click "New Quote" to start creating a quote.
 -
Confirm New Quote
A confirmation dialog appears. Click Create to confirm. The system generates a quote number automatically and takes you to the quote detail page.
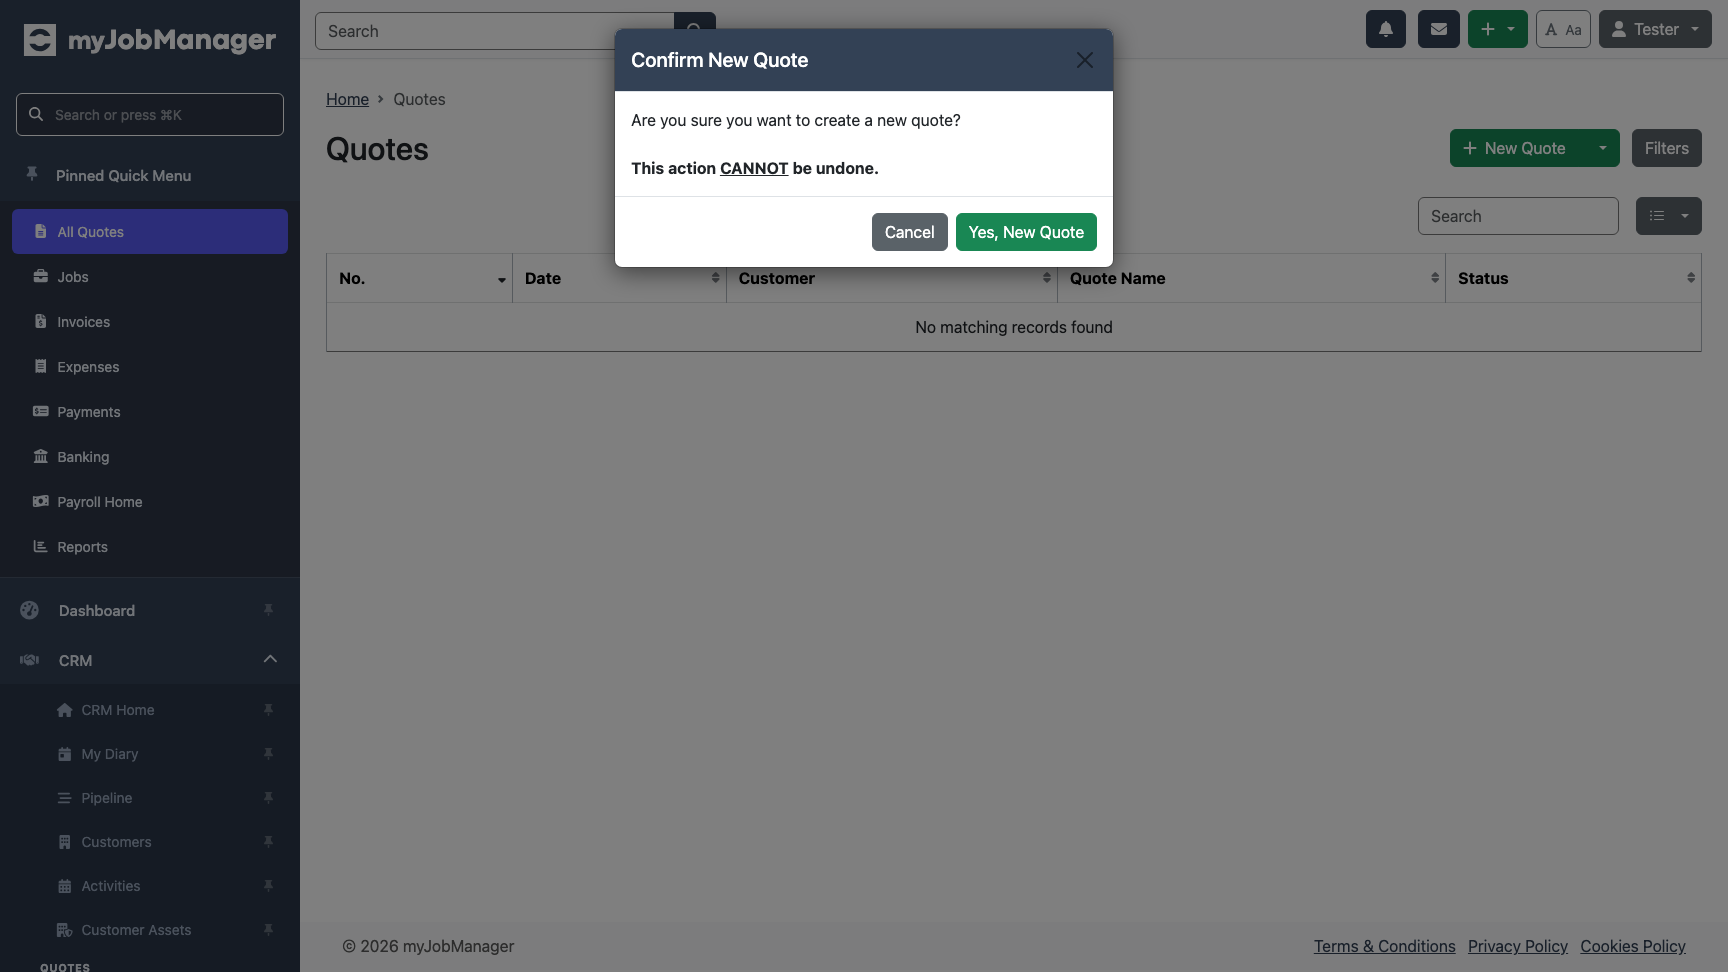 1 Click to confirm and create the quote.
 -
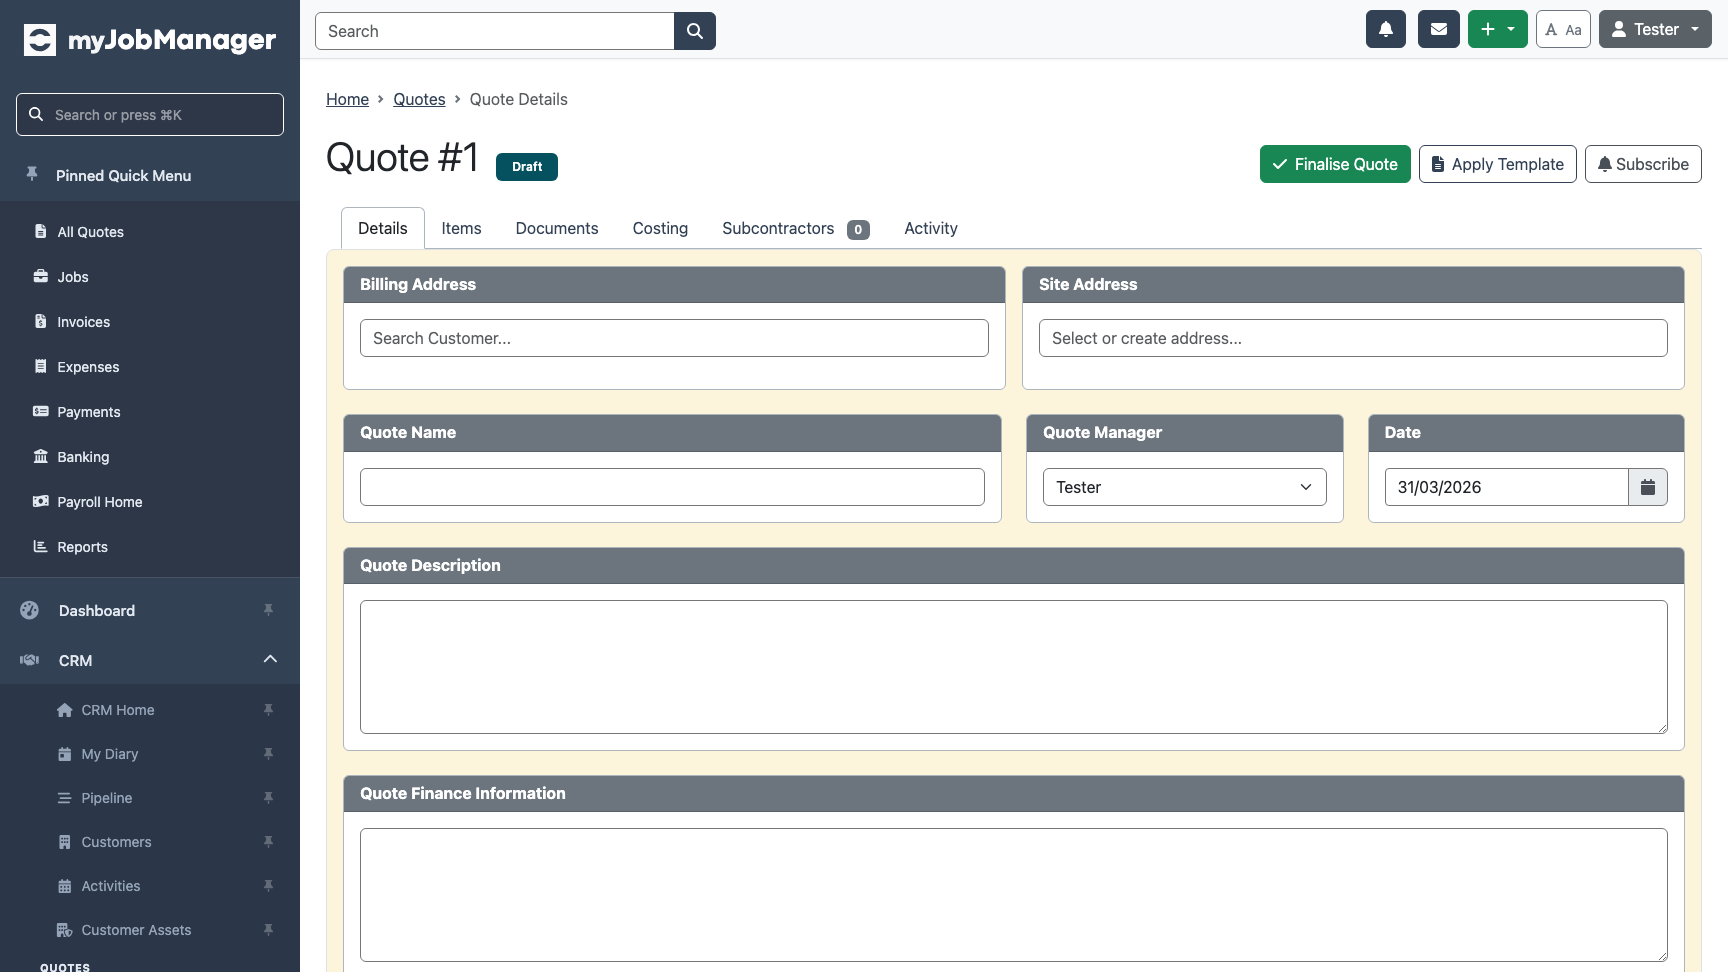
New Quote Created
You're now on the quote detail page. The quote starts as a Draft with no customer or items yet. This is where you build out the quote.
-
Assign a Customer
Use the customer search to find and assign the customer. Start typing the customer name and select from the dropdown suggestions.
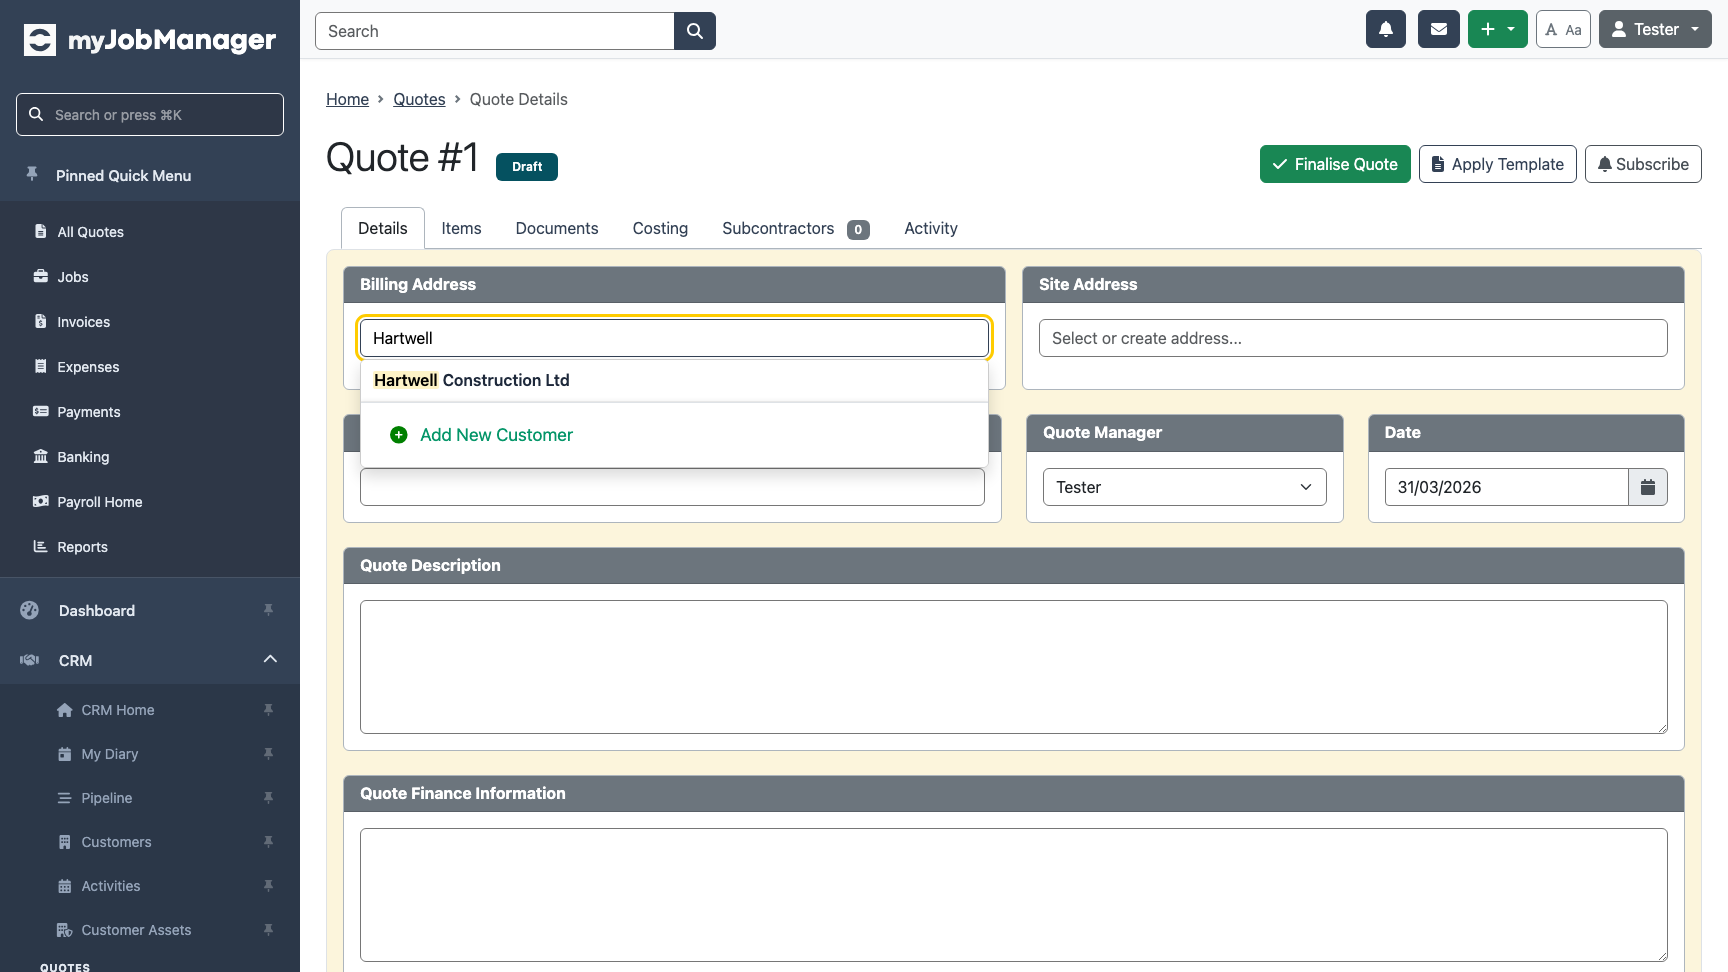 1 Type the customer name to search and select from results.
 -
Customer Details Shown
Once assigned, the customer's billing address and site address appear on the quote. These print on the final document.
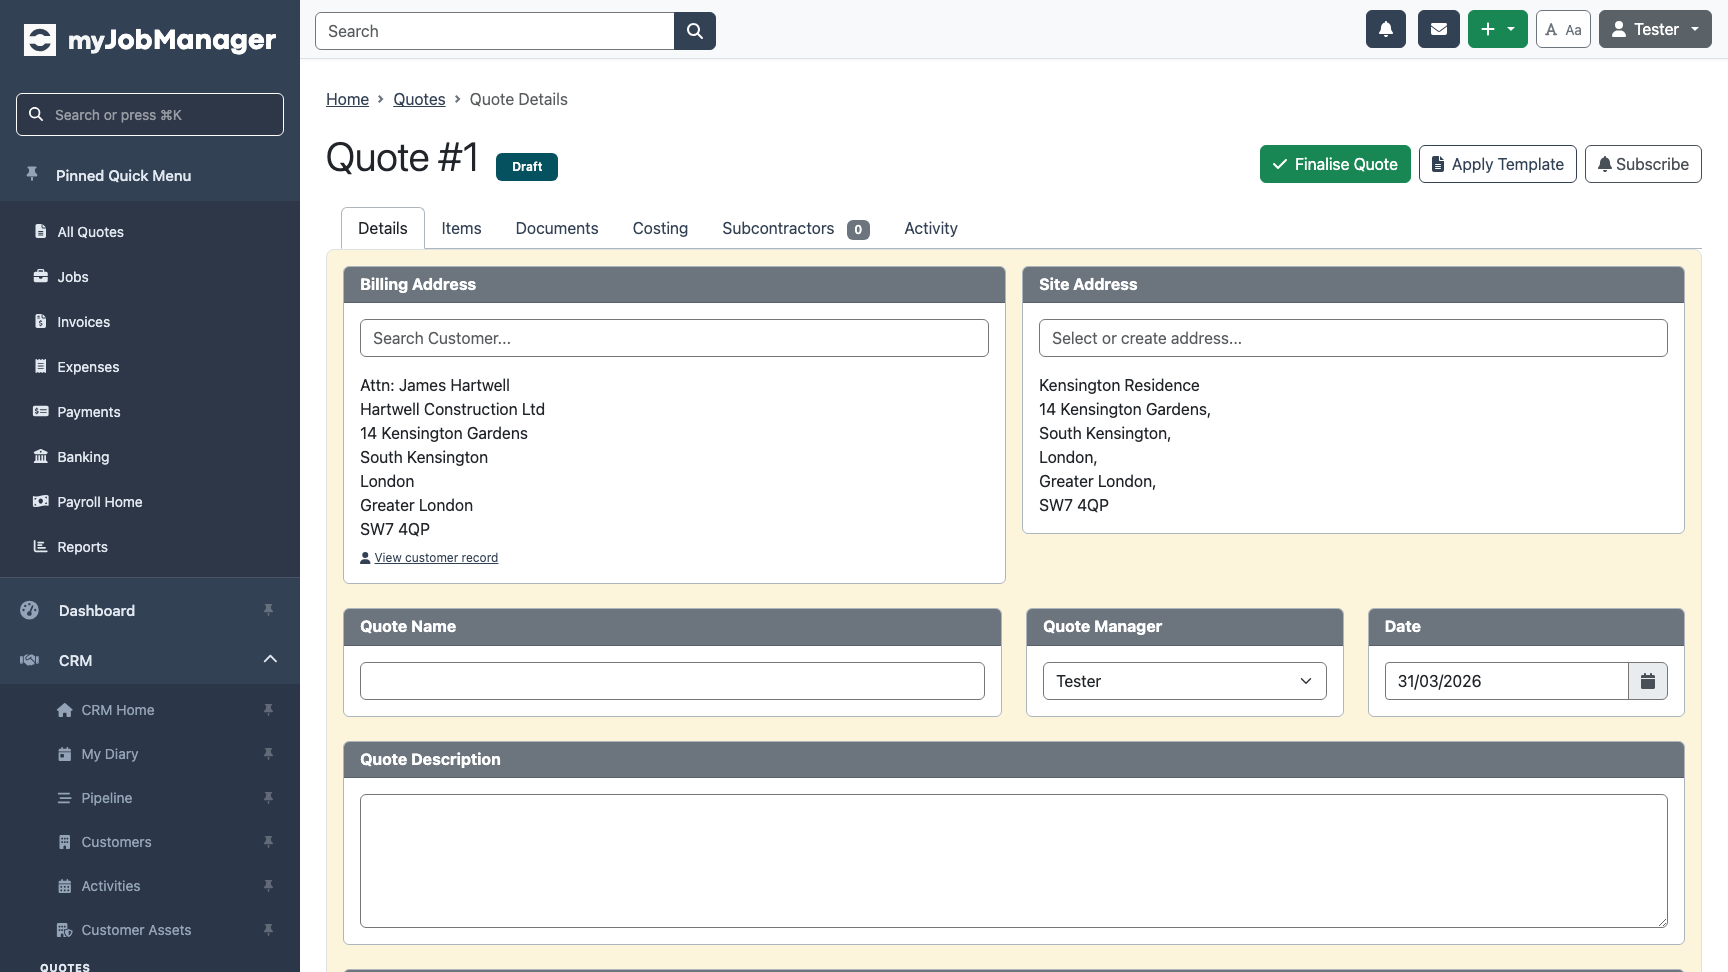 1 Billing address pulled from the customer record.
 -
Add Items to the Quote
Switch to the Items tab and click "Add Item" to add line items. You can add items from the customer's price list or enter them manually with a description, quantity, and price.
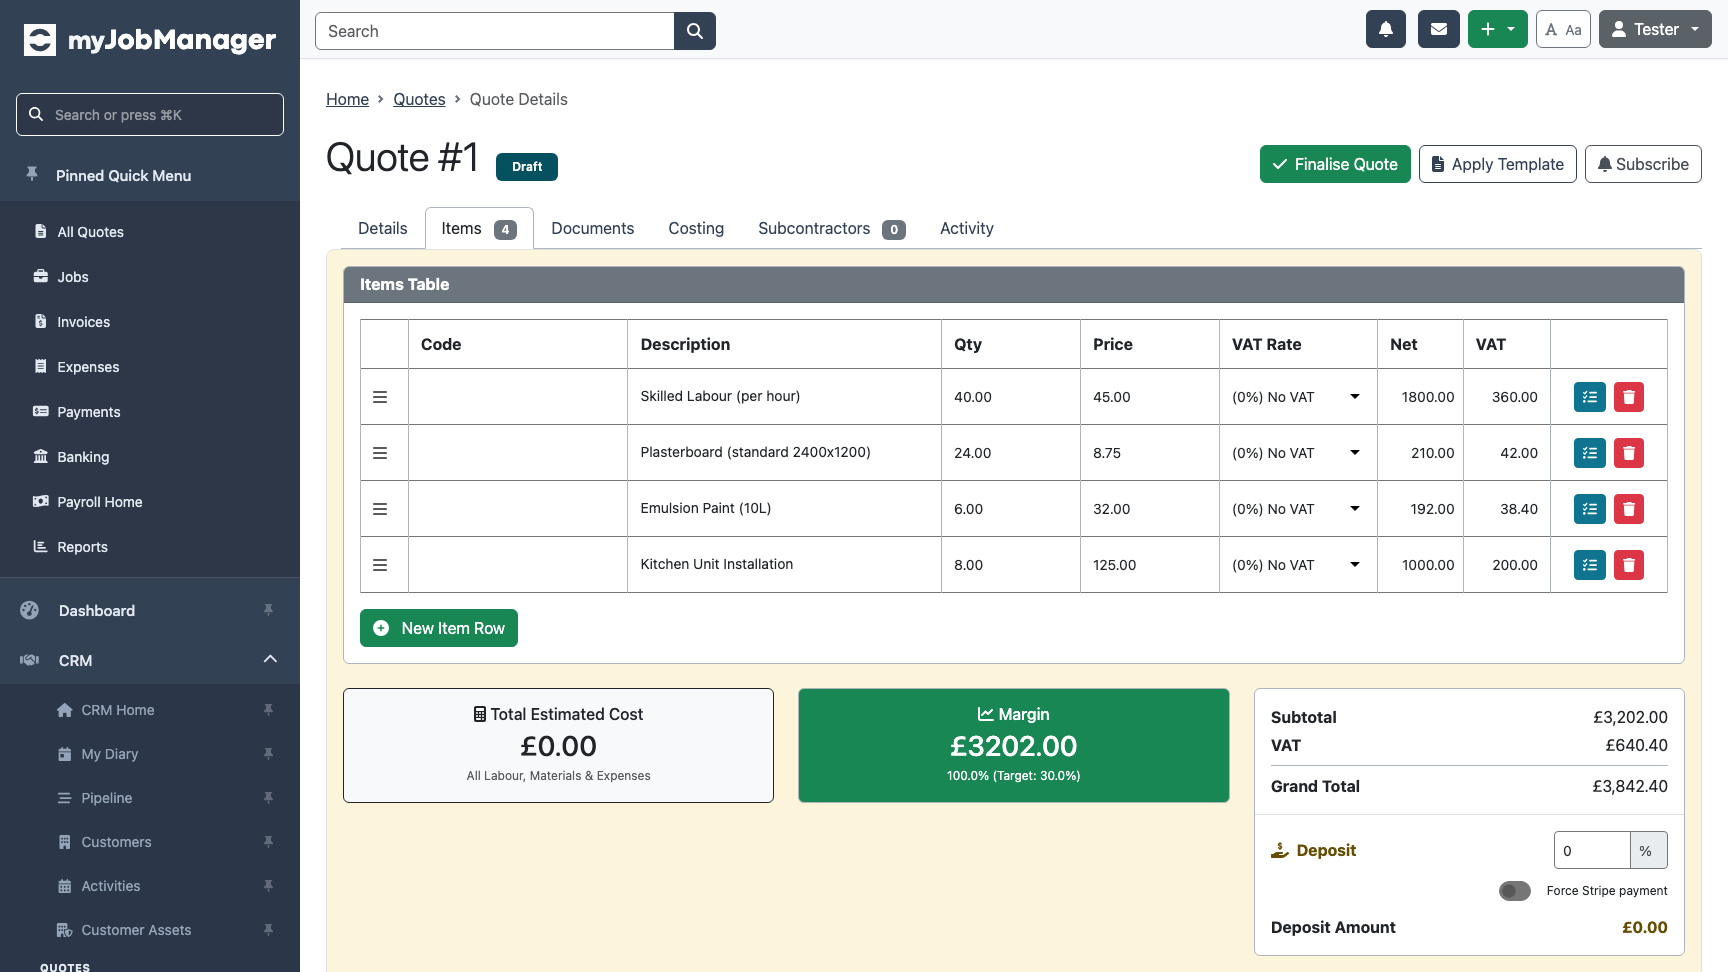 1 Items tab shows all quote line items.2 Click "Add Item" to add a new line.
 -
Review Totals
As you add items, the totals update automatically. The quote shows subtotal (net), VAT, and grand total (gross).
 1 Grand total including VAT — this is what the customer will see.
 -
Finalise the Quote
When you're happy with the items and totals, click "Finalise" to lock the quote. Finalising prevents further edits and prepares the quote for sending.
 1 Click "Finalise" to lock the quote for sending.Tip If you need to make changes after finalising, you can create a new version (requote) rather than editing the locked original.
 -
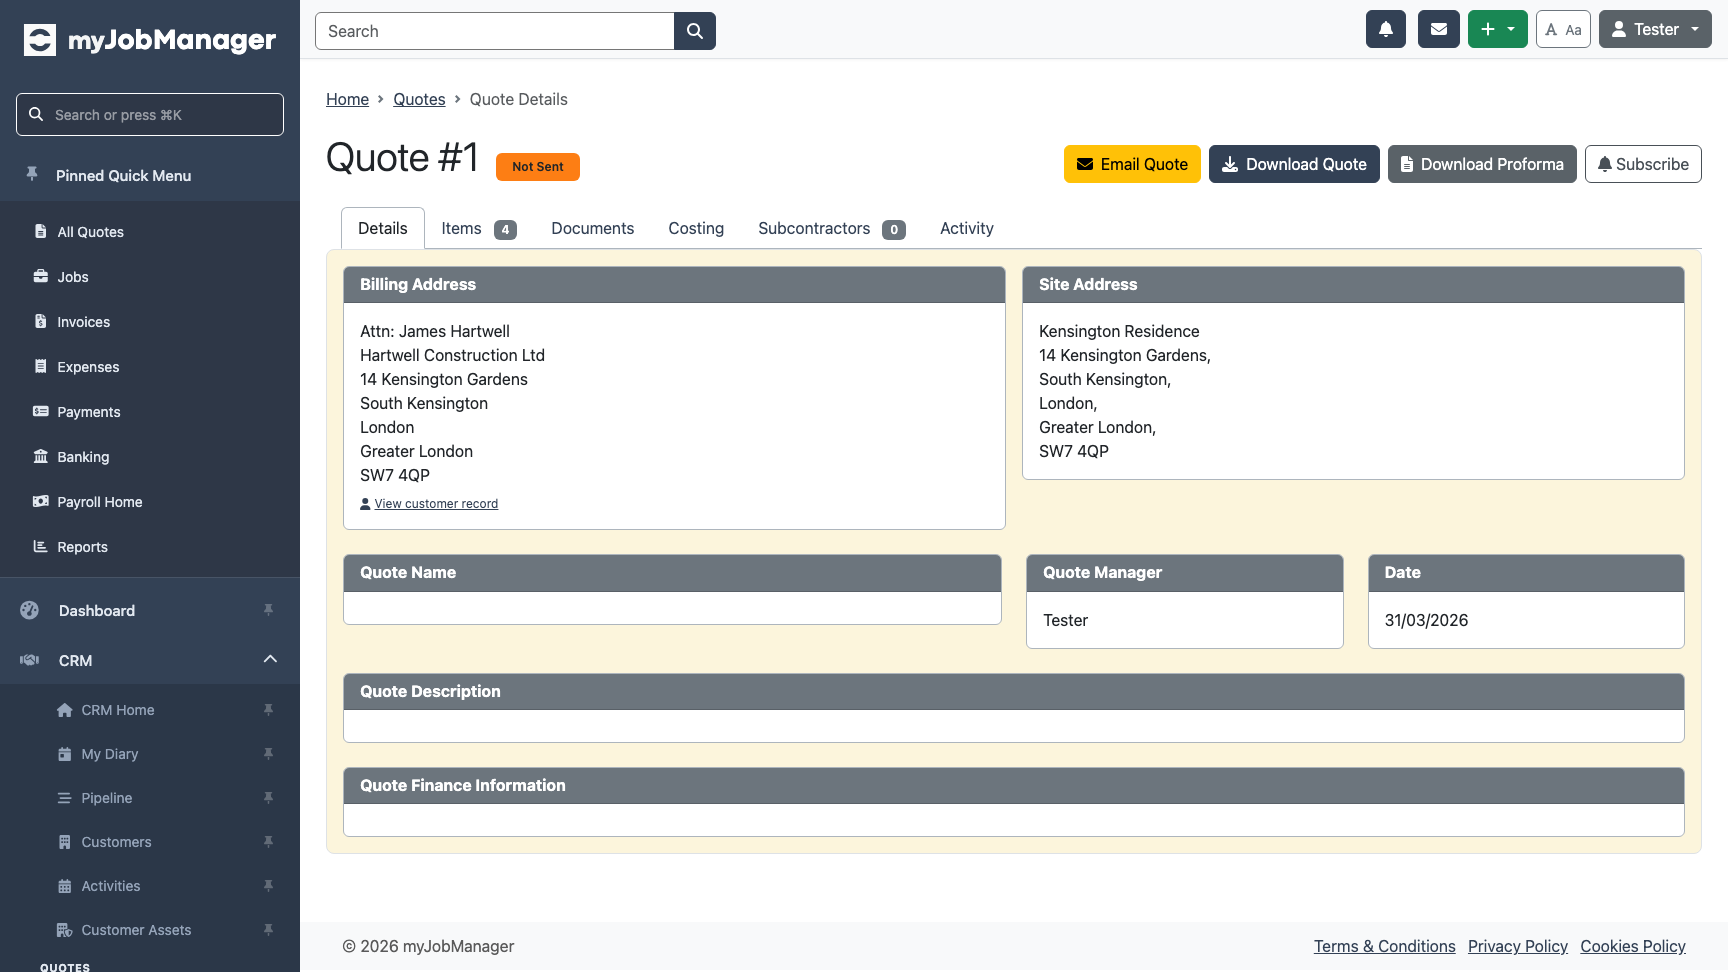
View the Finalised Quote
Once finalised, the quote is locked and shows options to email or download as PDF. The status changes from Draft to reflect its current state.
-
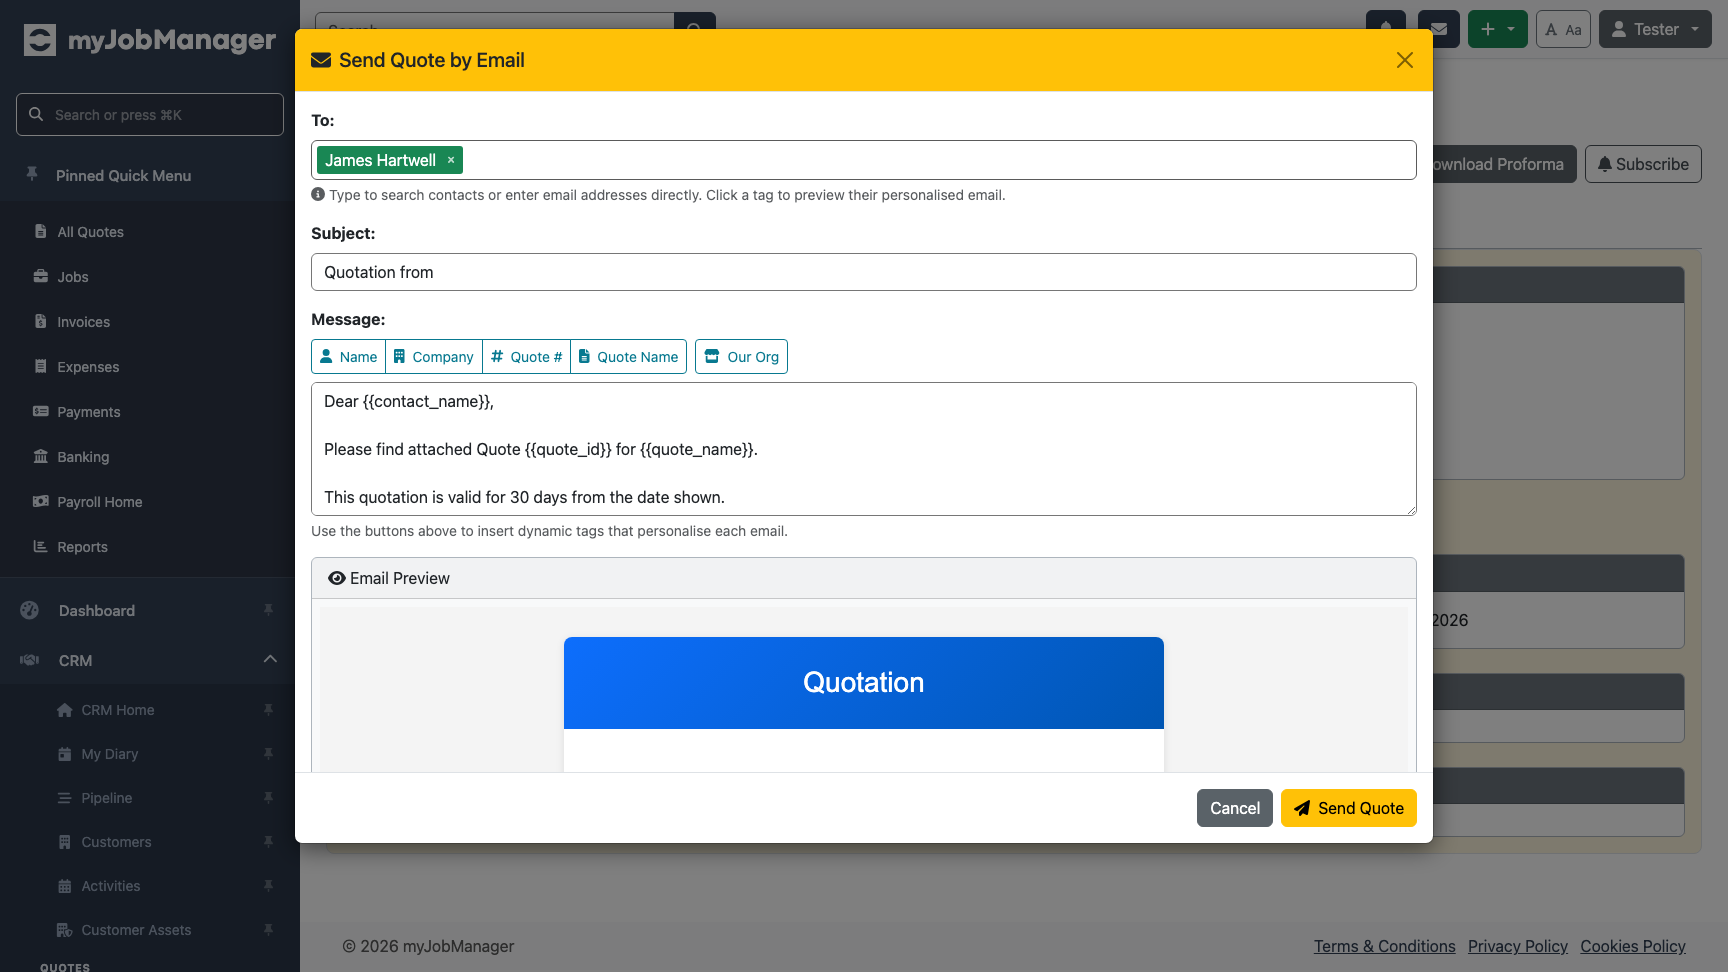
Send the Quote by Email
Click "Email Quote" to open the send dialog. Review the recipient, subject line, and message, then click Send. The customer receives a professional PDF quote.