Understanding Your Dashboard
Your dashboard is the first thing you see when you log in. It gives you a snapshot of your day, upcoming tasks, and business activity.
Approx. 5 minutesBefore You Start
- The dashboard shows data based on your permissions. You may see different widgets depending on your access level.
- Dashboard layout is customisable — you can add and remove widgets to suit your workflow.
Steps
-
Dashboard Overview
When you log in, you land on the dashboard. It combines your planner (showing today's schedule) with task widgets and business summaries.

-
Planner View Controls
The planner supports multiple views. Use the control bar to switch between Timeline, Weekly, Monthly, and Day views depending on how far ahead you want to plan.
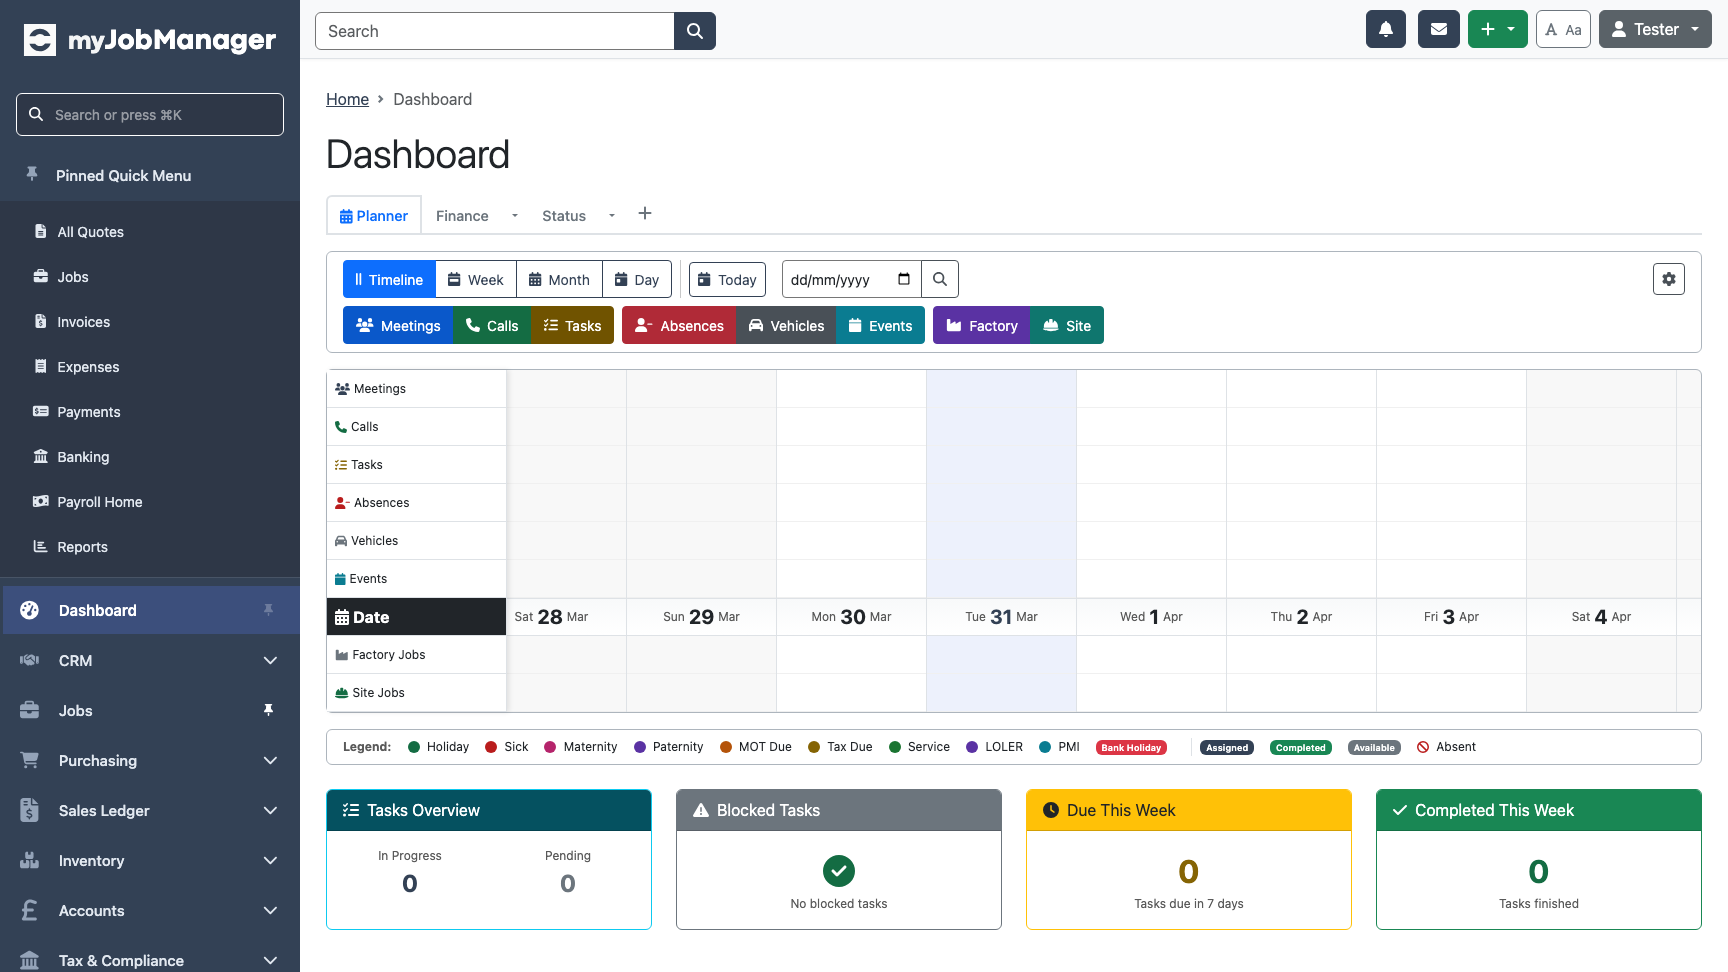 1 Timeline — see your day at a glance with a scrollable timeline.2 Weekly — plan across the full working week.
 -
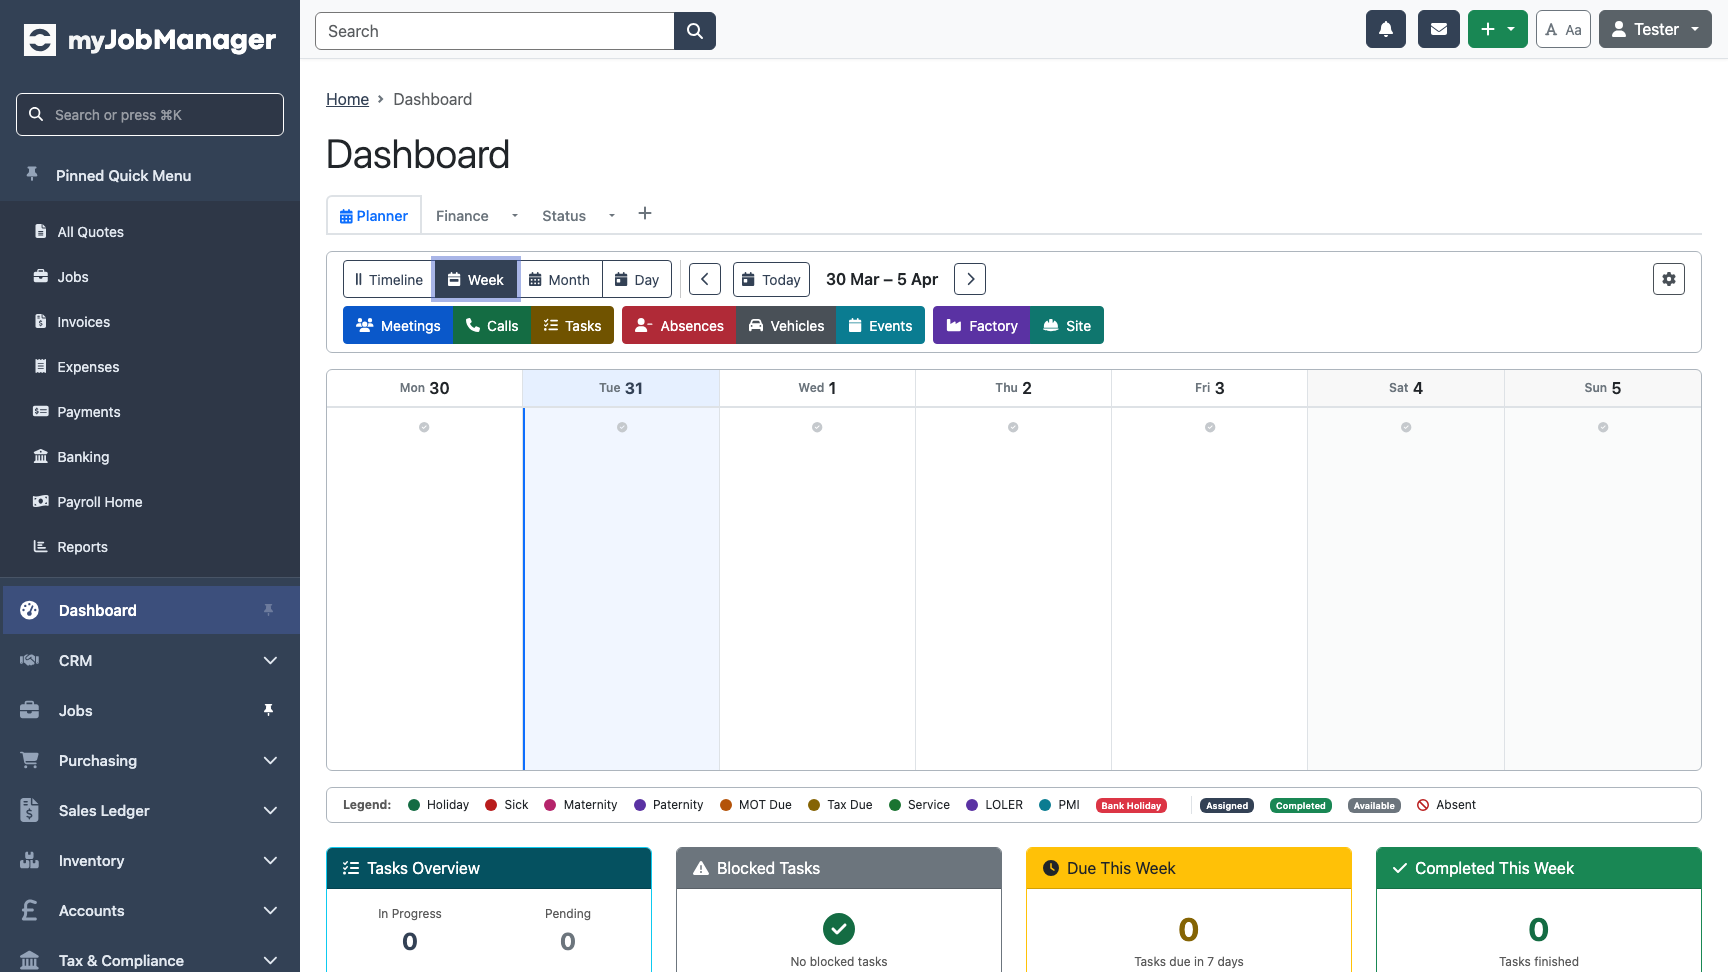
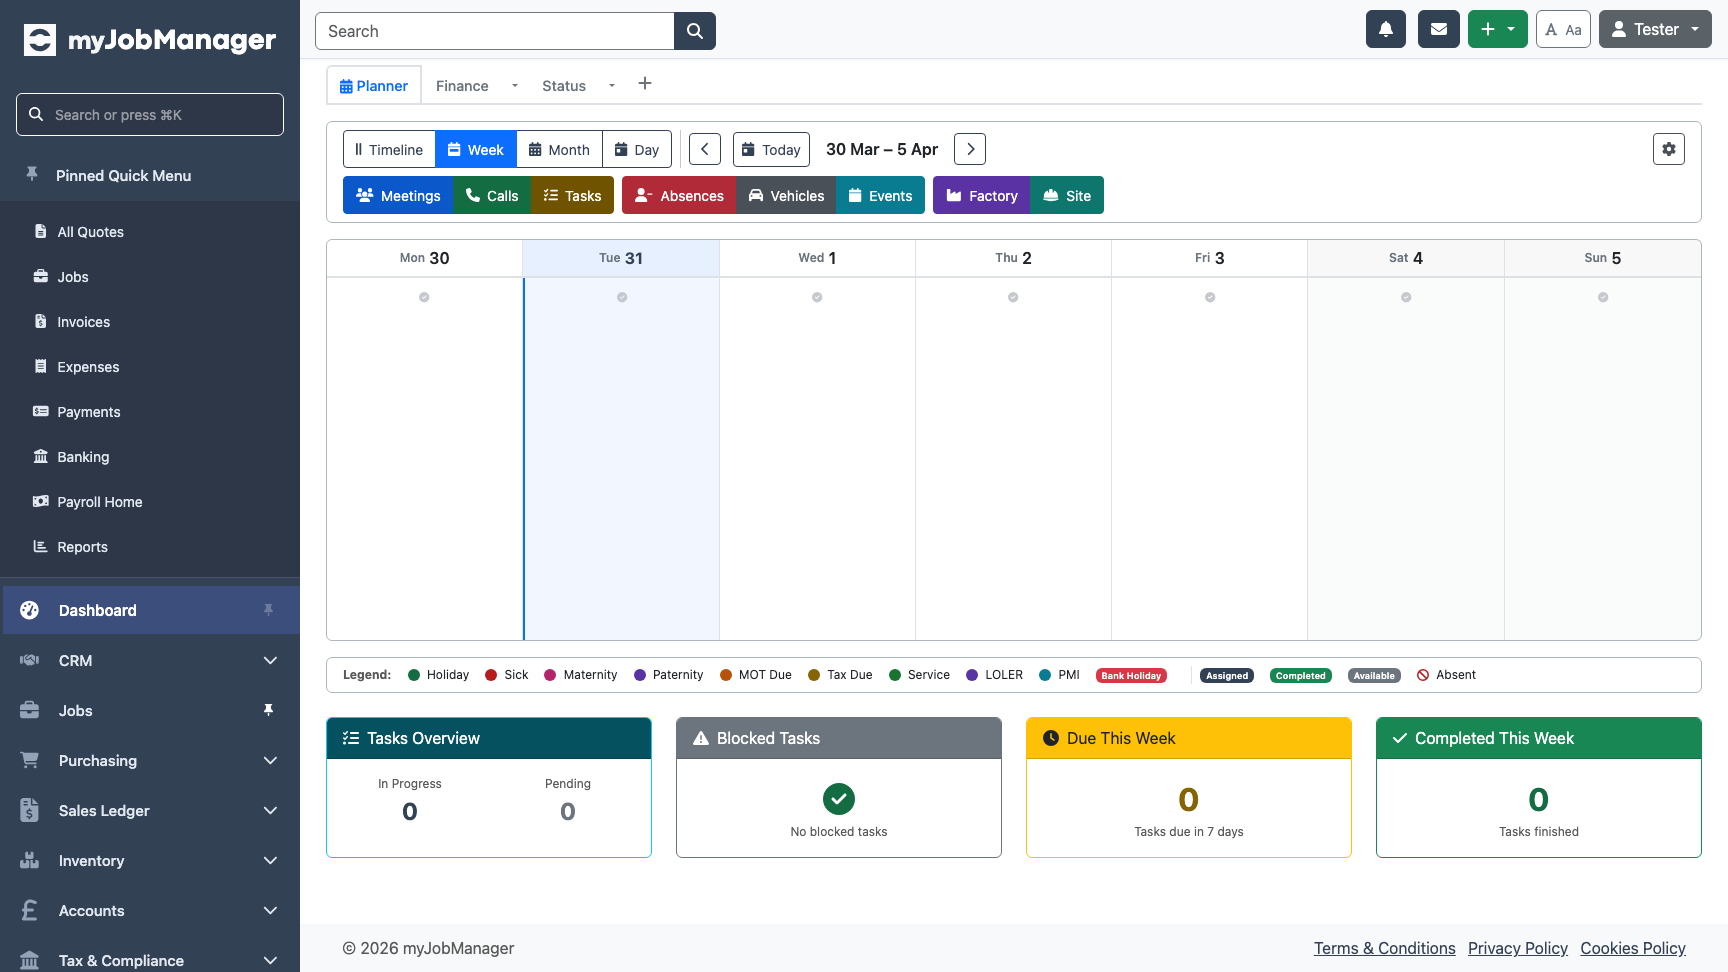
Weekly Planner View
The weekly view shows all scheduled items across the coming days. This is useful for planning work ahead and spotting gaps in your schedule.
-
Filter Toggles
Use the filter toggles to show or hide different types of items in your planner: Meetings, Calls, Tasks, Absences, Vehicles, Events, and Jobs.
 Tip If your planner looks cluttered, toggle off categories you don't need. For example, site managers might only want to see Jobs and Tasks.
 -
Task Summary Widgets
Below the planner, task widgets give you a quick count of items that need your attention: In Progress, Pending, Blocked, Due This Week, and Completed.
-
Customise with Widgets
Click the Add Widget button to customise your dashboard. Choose from available widgets to add charts, reports, or quick-access panels that match your workflow.
 Tip Each user can customise their own dashboard independently. Your layout won't affect other team members.