Quick Start Setup Wizard
Get your myJobManager account configured and ready to use. This guide walks you through the essential organisation settings every new account needs.
Approx. 8 minutesBefore You Start
- You need to be logged in as an administrator.
- Have your company details to hand: registered address, phone number, bank sort code and account number.
- If you are a limited company, your Companies House registration number will speed things up.
Steps
-
Open Organisation Settings
From the sidebar, navigate to Settings > Organisation. This is where you configure the core details about your business that appear on all documents — invoices, quotes, and statements.
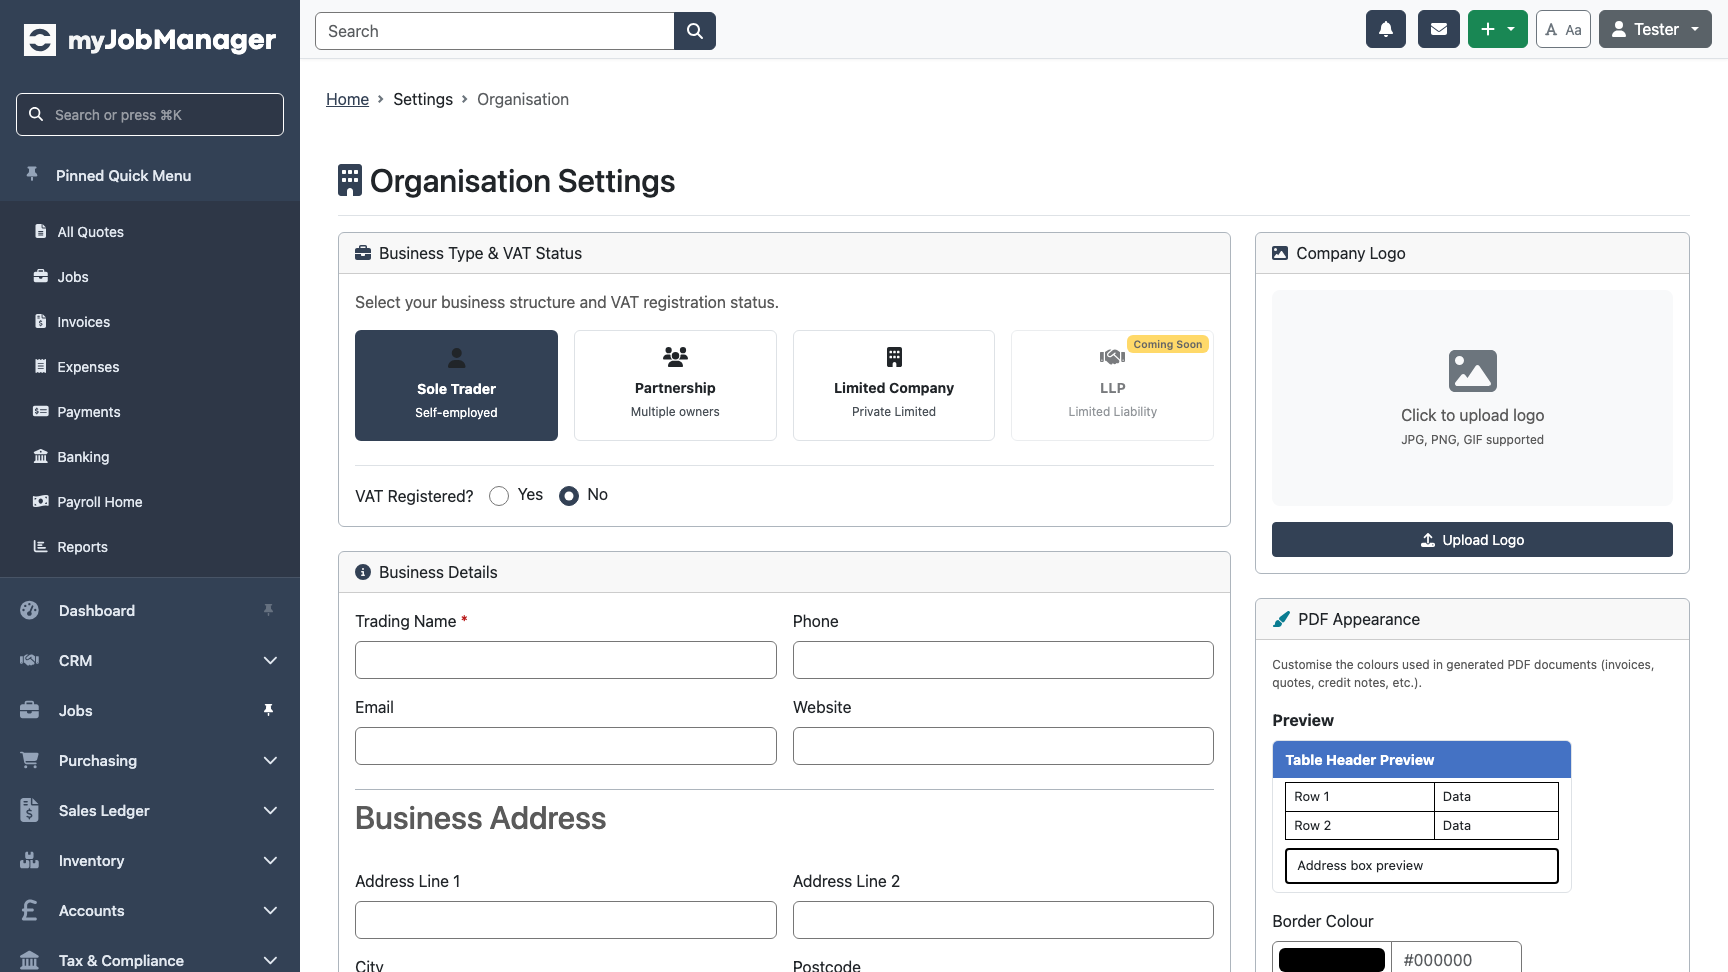 1 Select your business type — most trade businesses choose Limited Company.
 -
Select Your Business Type
Choose the legal structure that matches your business. This affects how your accounts are set up and which tax features are available.
 1 Sole Trader — for individuals trading under their own name.2 Partnership — for businesses with two or more partners.3 Limited Company — for Ltd companies registered at Companies House.Tip If you select Limited Company, you can search Companies House to auto-fill your company details, directors, and registered address.
 -
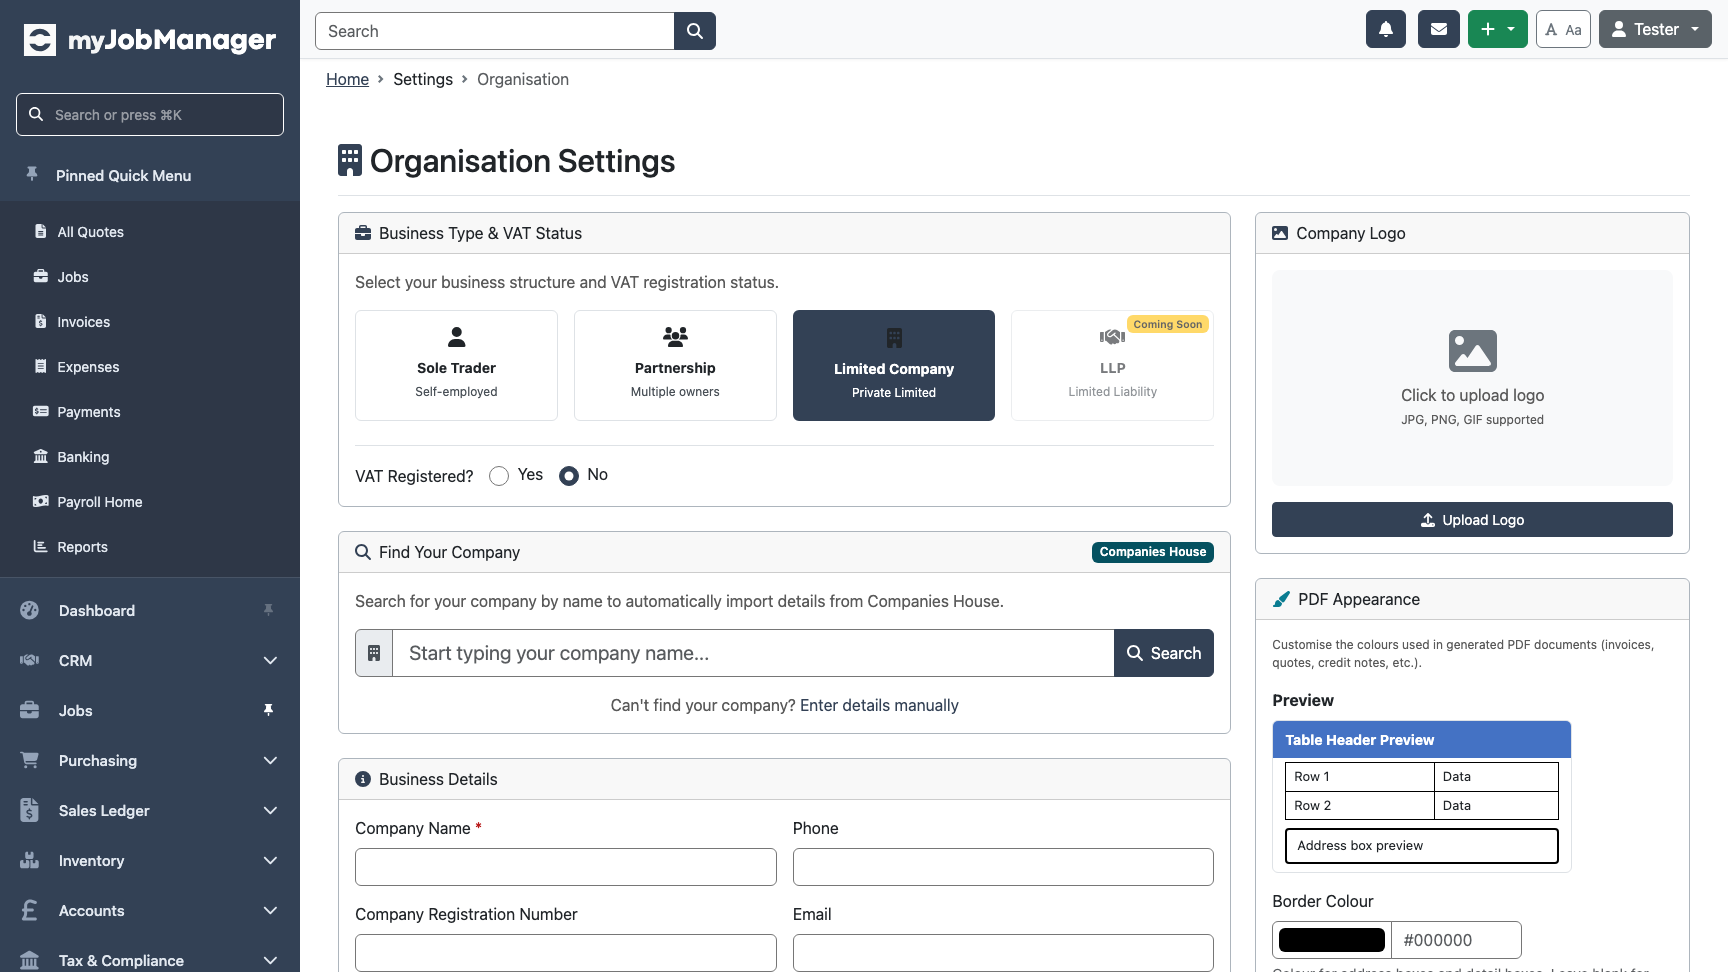
Search Companies House (Limited Companies)
For limited companies, use the Companies House search to find your company by name or registration number. This automatically populates your company details, saving you time and reducing errors.
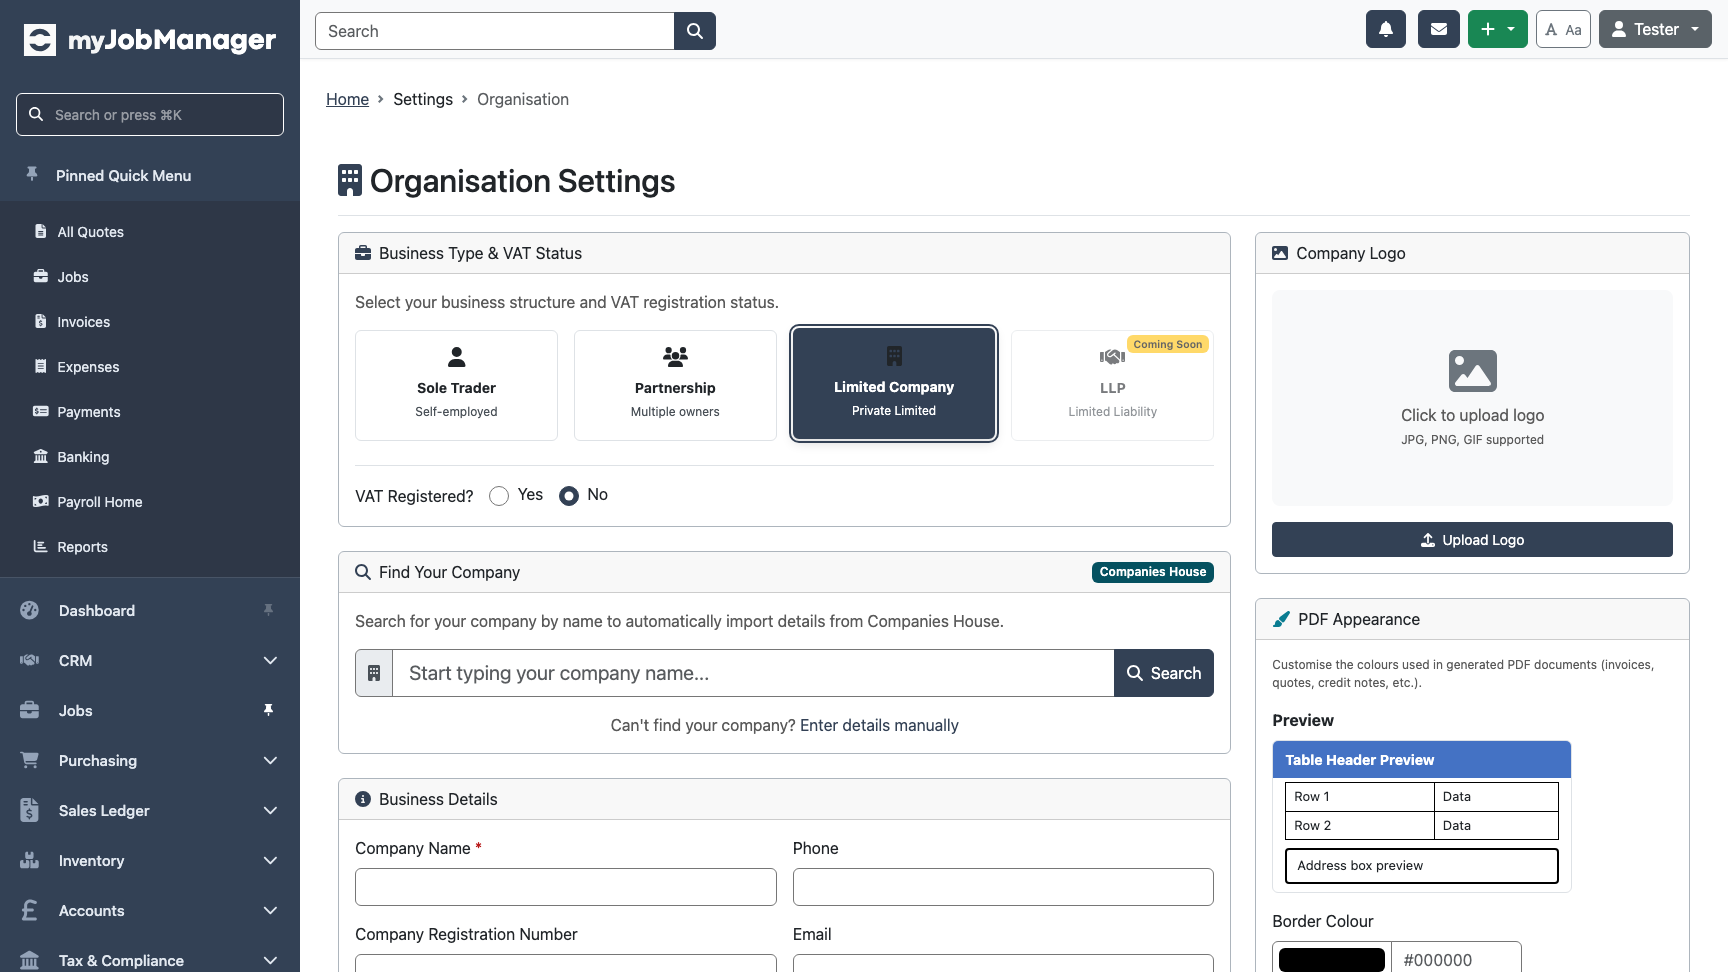 1 Enter your company name or registration number.2 Click Search to look up your company.
 -
Enter Company Details
Your company name is the most important field — it appears on every invoice, quote, and document you send. Make sure it matches your official trading name.
 1 Company name — appears on all your documents.2 Phone number — shown on invoices for customer queries.
 -
Set Your Business Address
Enter your business or registered office address. This is used on invoices, quotes, and other correspondence.
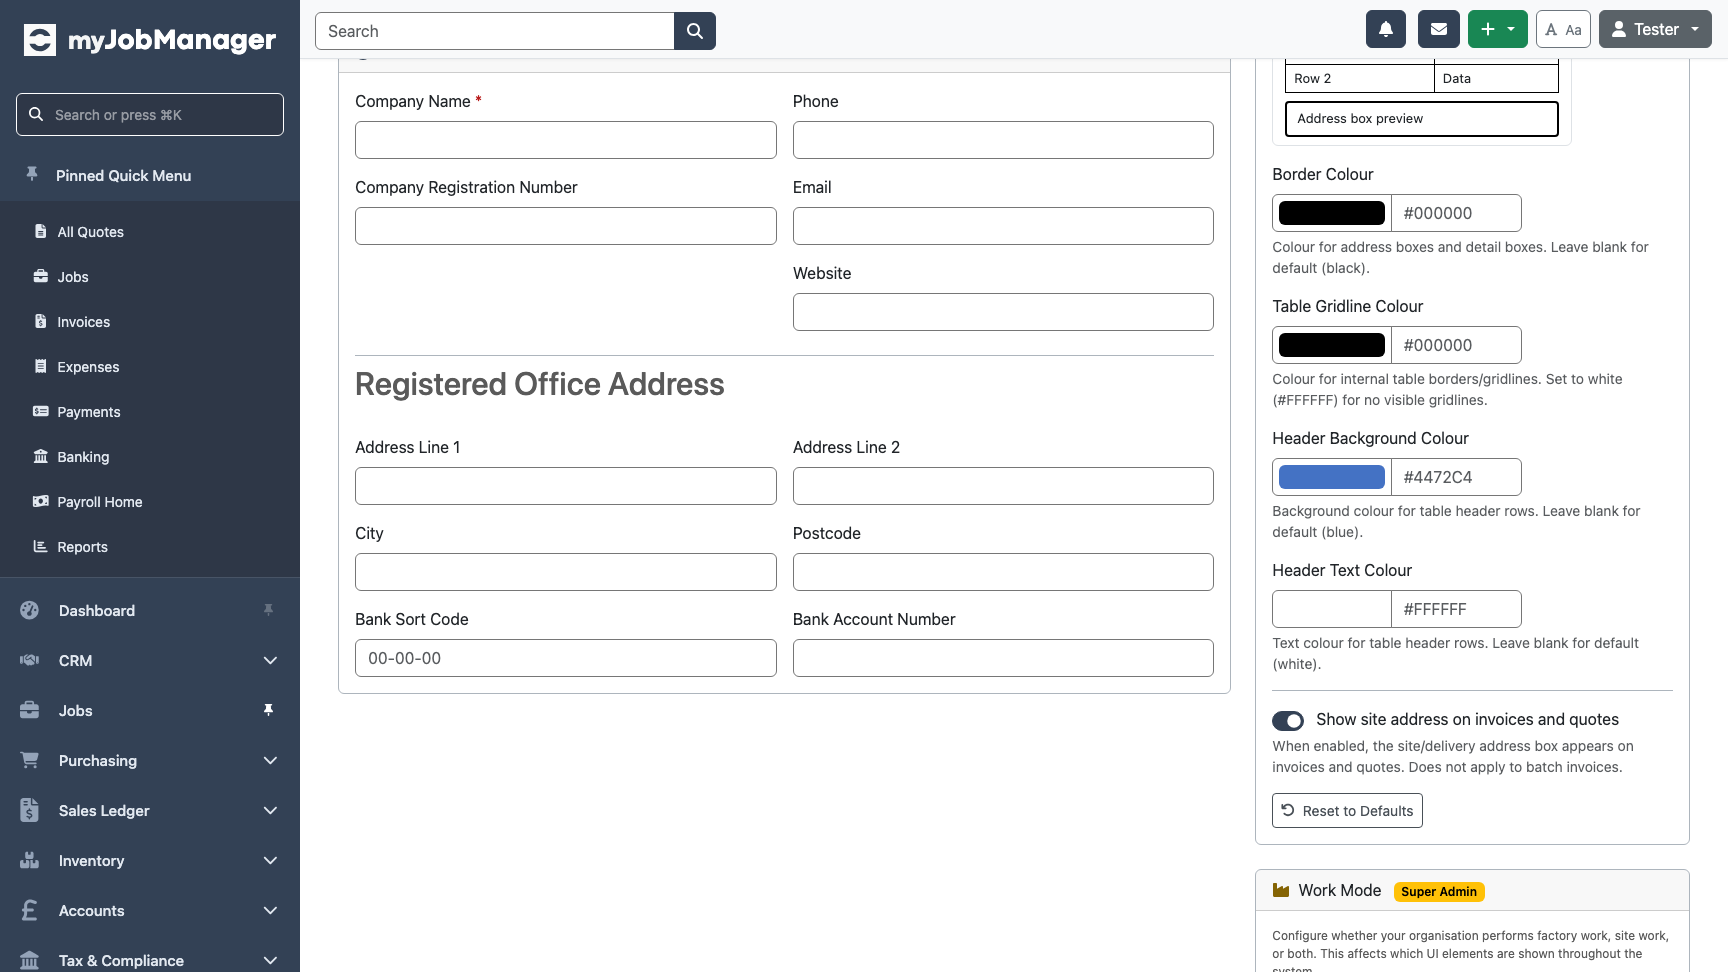 1 Enter your full business address.2 Postcode — appears on invoices and documents.
 -
Add Contact Details
Enter your company email address and website. These appear in the footer of your documents and help customers get in touch.
 1 Email — your company contact email.2 Website — displayed on your documents.
 -
Enter Bank Details
Your bank sort code and account number are printed on invoices so customers know where to send payments. Make sure these are correct.
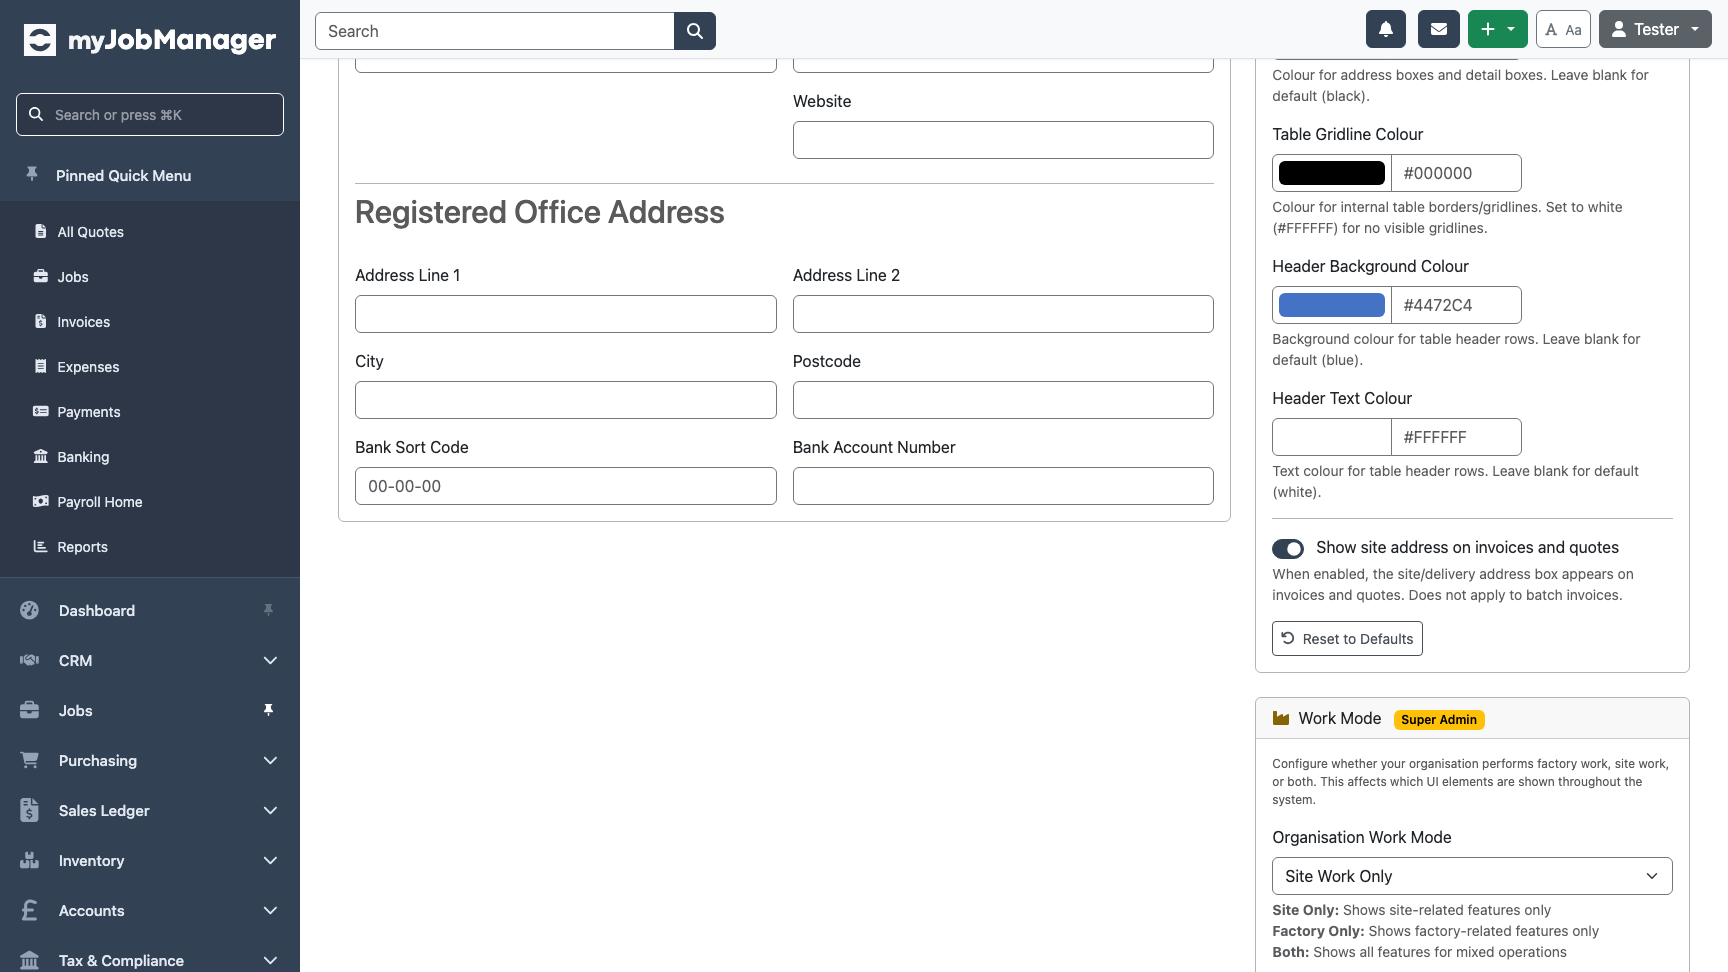 1 Sort code — your bank's 6-digit sort code (e.g. 12-34-56).2 Account number — your 8-digit account number.Tip Double-check your bank details carefully. Incorrect details on invoices can delay customer payments.
 -
Configure VAT Registration
If your business is VAT registered, select Yes to enable VAT features throughout the system. This adds VAT to invoices, enables Making Tax Digital (MTD) submissions, and sets up VAT reporting.
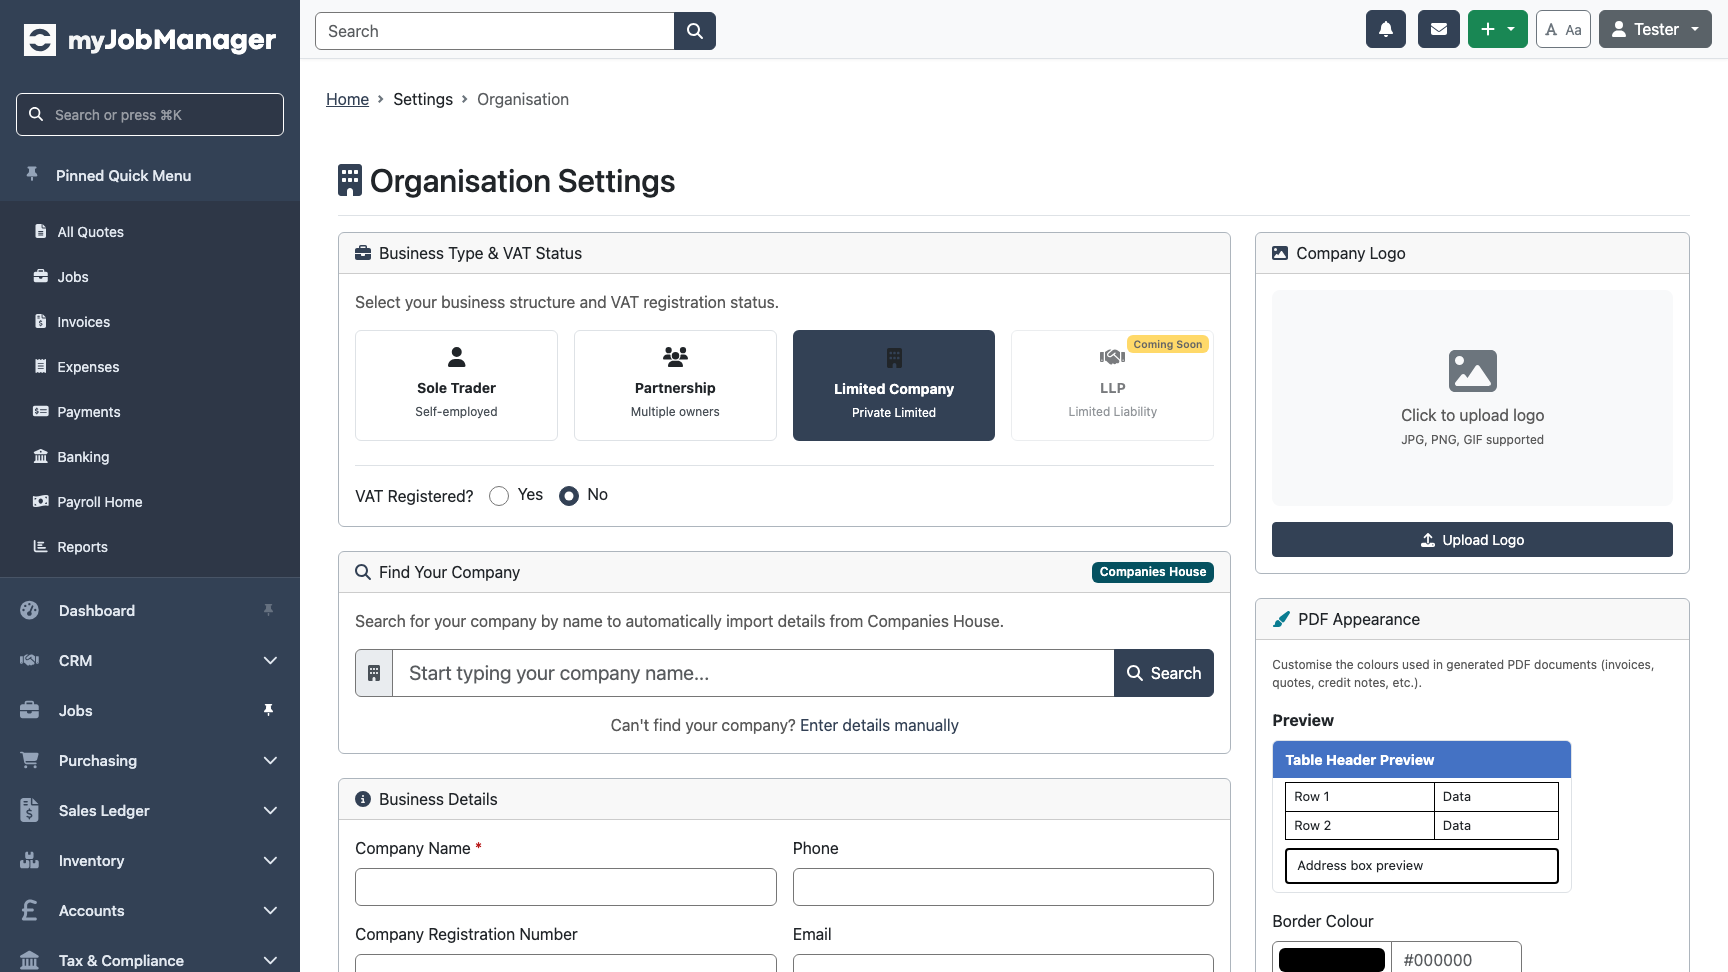 1 Select Yes if your business is VAT registered.Tip You can change your VAT registration status later under Settings > VAT. If you're unsure, select No for now — you can enable it at any time.