Creating & Managing Customers
Learn how to add customers using Companies House search or manual entry, set up sites and contacts, allocate price lists, and configure payment terms.
Approx. 10 minutesBefore You Start
- You need to be logged in with permission to create and edit customers.
- If you want to allocate a price list in step 11, create one first via Settings > Price Lists.
Steps
-
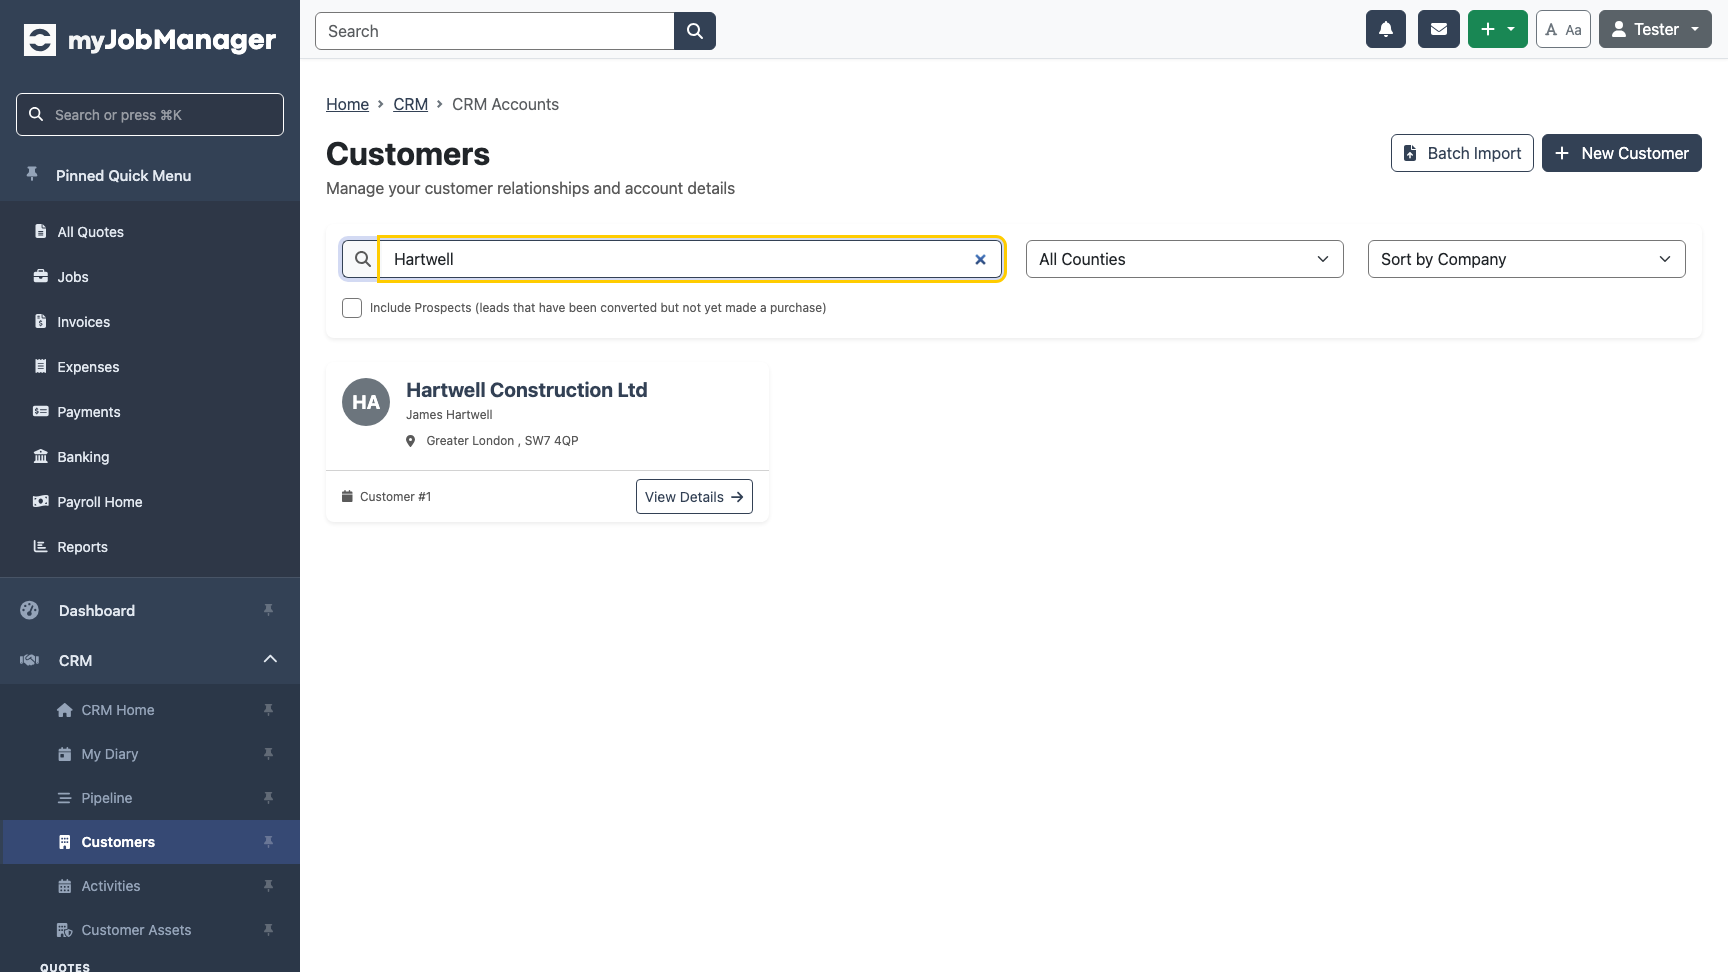
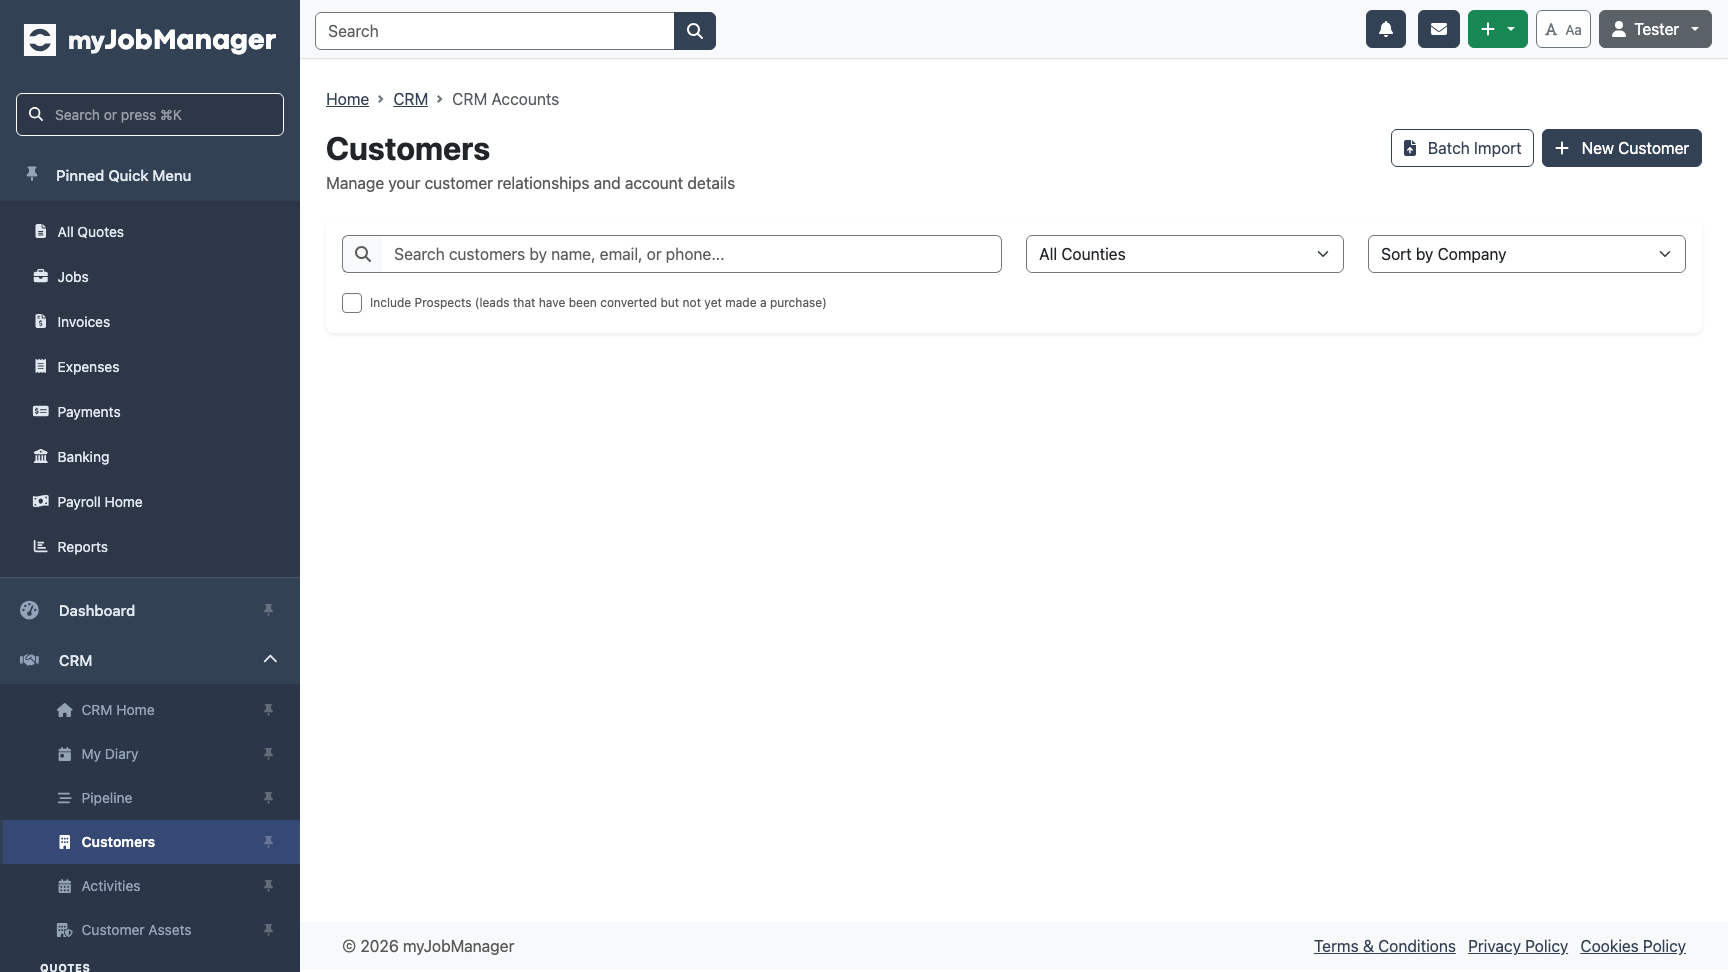
Navigate to the Customers Page
From the sidebar, click Customers to open the customer list. This page shows all your existing customers and lets you add new ones.
 1 Click the "New Customer" button to start adding a customer.
 -
Search Companies House
The customer wizard opens with a Companies House search. Type in the company name or number to find the business you want to add. This auto-populates the company details, registered address, and director contacts.
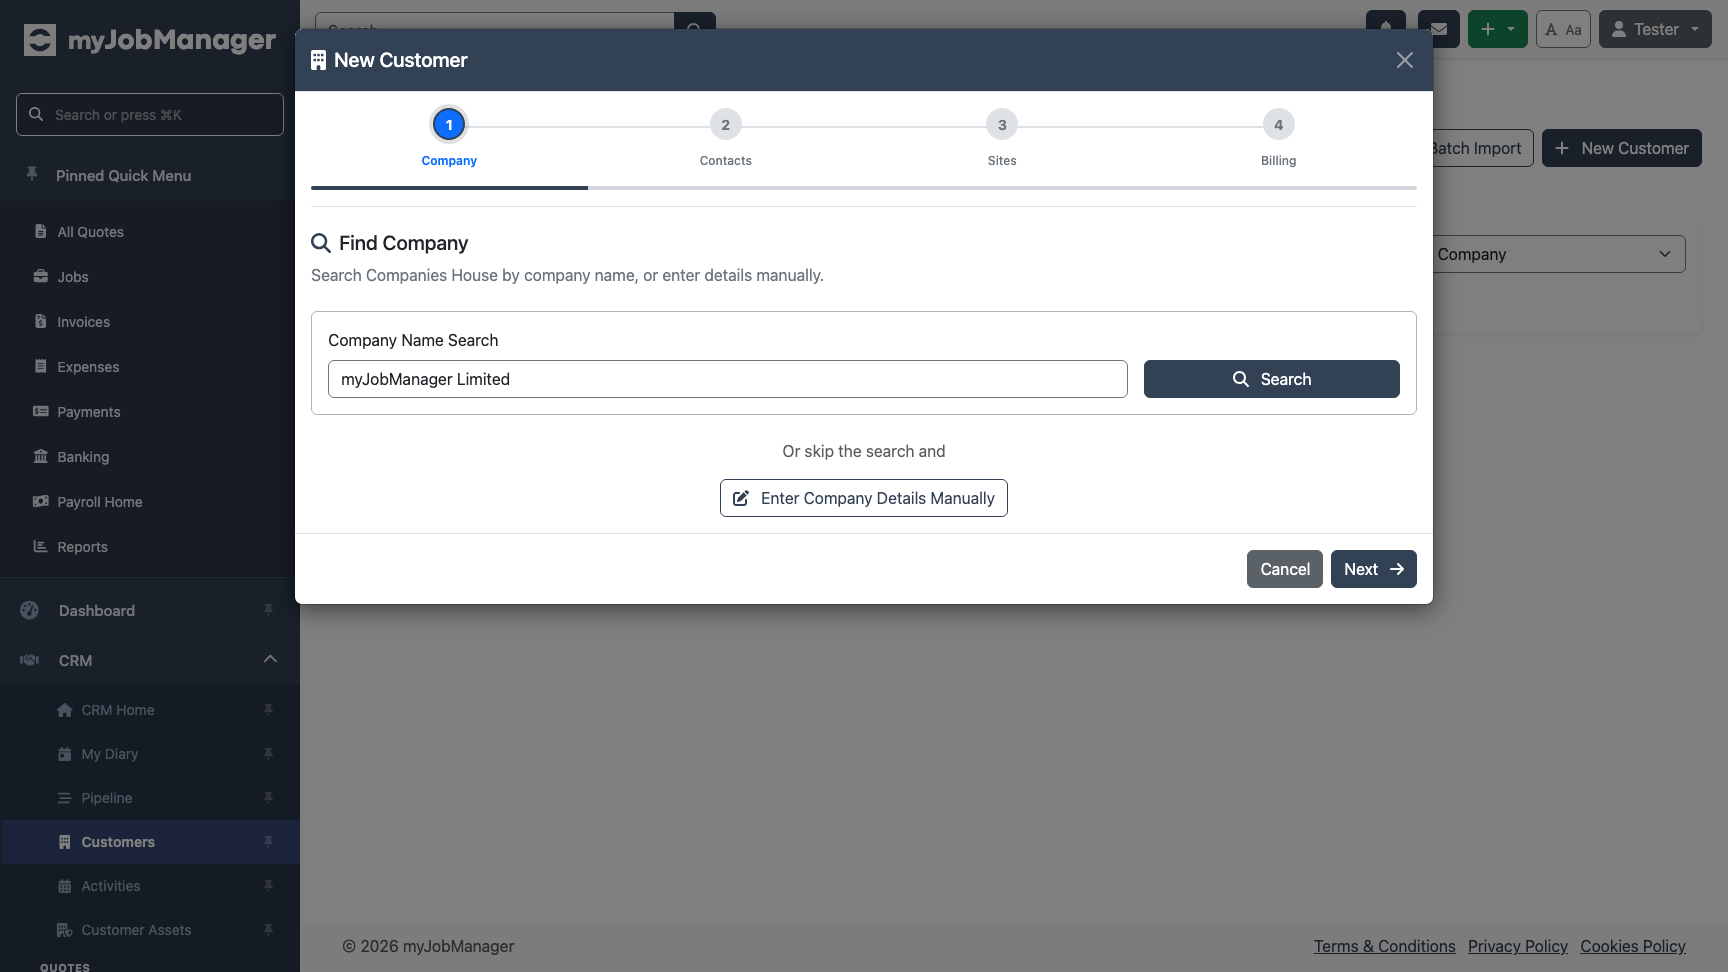 1 Enter the company name or number to search Companies House.2 Click Search to find matching companies.
 -
Review Search Results
The search results show matching companies with their registration number, type, status, and registered address. Click a row or the green tick to select a company.
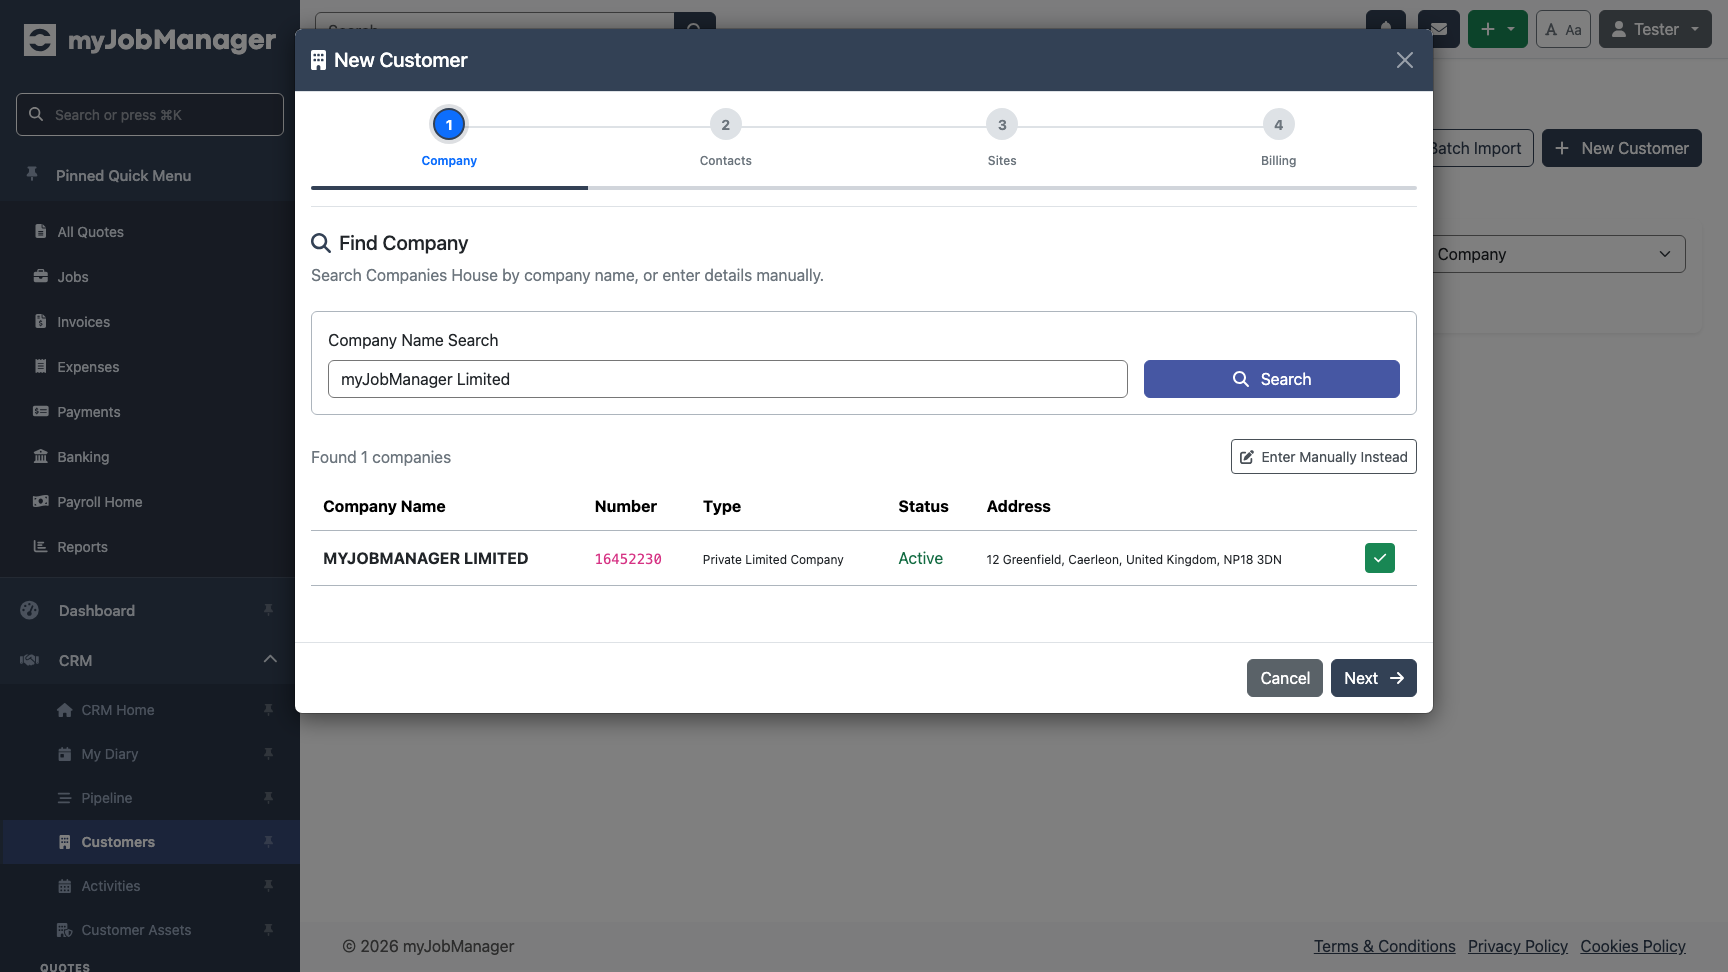 1 Click a company row or the green tick to select it.2 If the company isn't listed, click "Enter Manually Instead" to type details yourself.Tip You can search by company number (e.g. "12345678") for an exact match, or by name to see all matching results.
 -
Company Details Auto-Populated
After selecting a company, the form is auto-populated with the company name, registration number, type, status, and registered address from Companies House. You can edit any of these fields if needed.
 1 The company name and number are filled in automatically.2 The registered address is populated from Companies House records.Tip When you proceed to the Contacts step, the system will automatically load the company's directors from Companies House as well.
 -
Or Enter Details Manually
If the company isn't on Companies House (e.g. sole traders, overseas companies, or new businesses), click "Enter Company Details Manually" to type the details yourself.
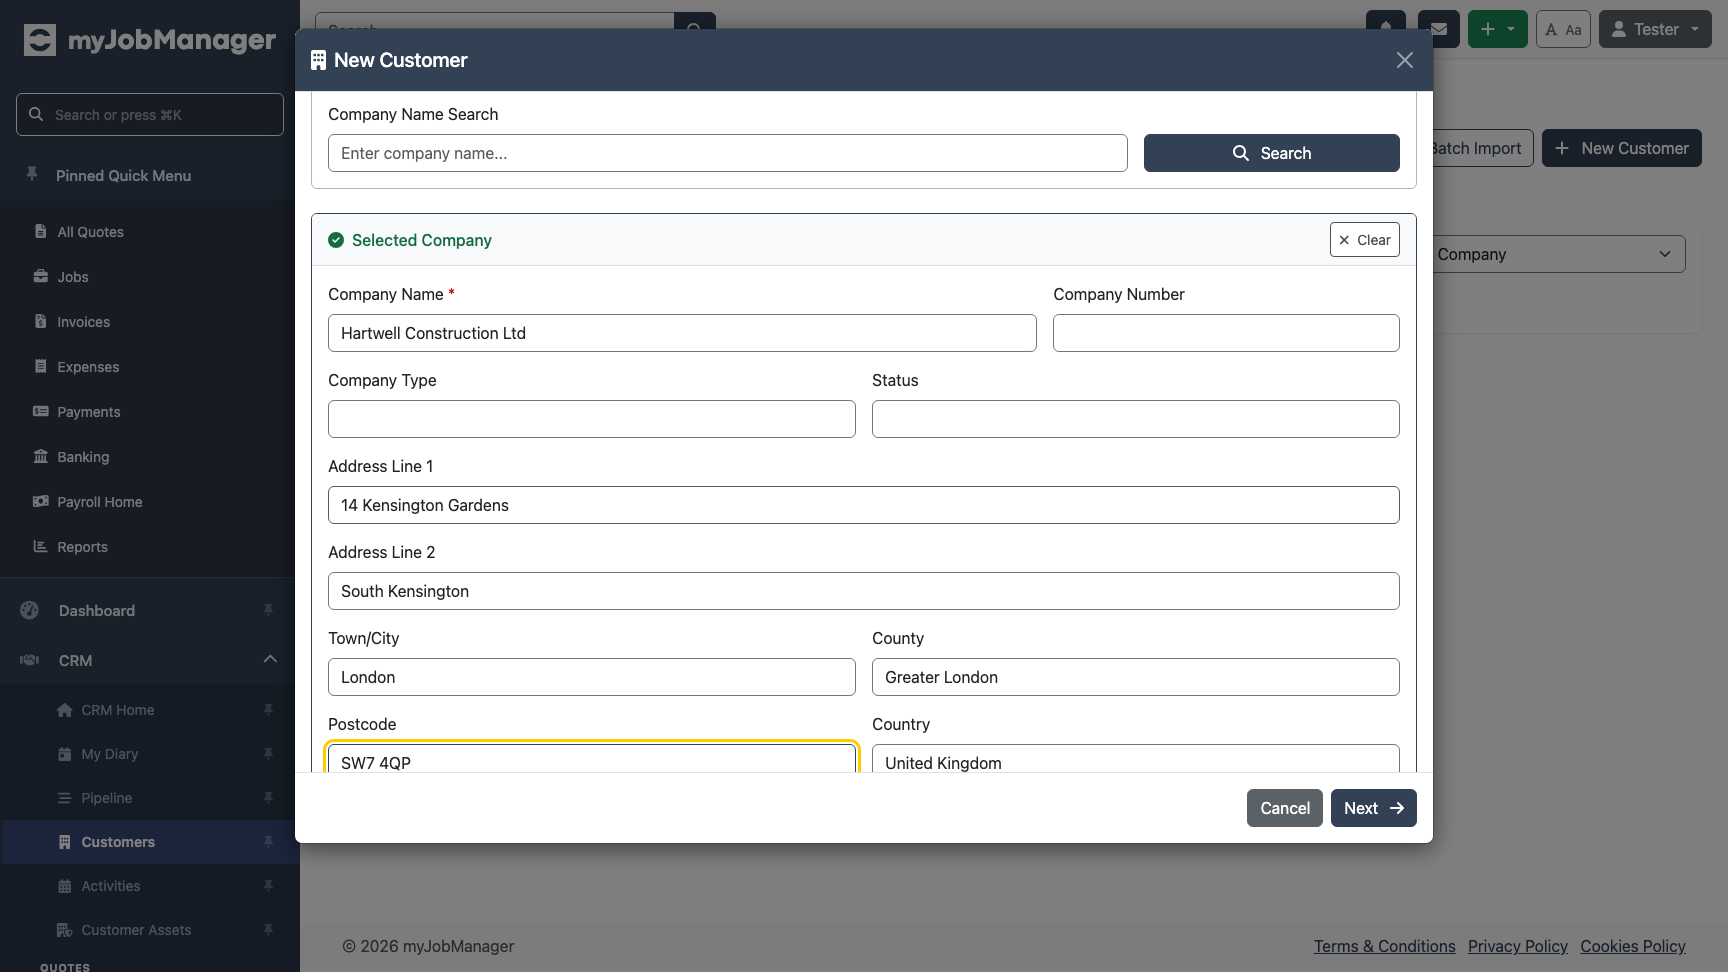 1 Enter the company name — this is used on all documents.2 Fill in the address fields including postcode.
 -
Save the Customer
Complete the wizard steps (Contacts, Sites, and Billing) then click Create Customer. You'll be taken to the customer detail page.

-
Add a Customer Site
Customers can have multiple work sites. Click "Add Site" to enter a site address. Sites appear in a dropdown when creating quotes and jobs for this customer.
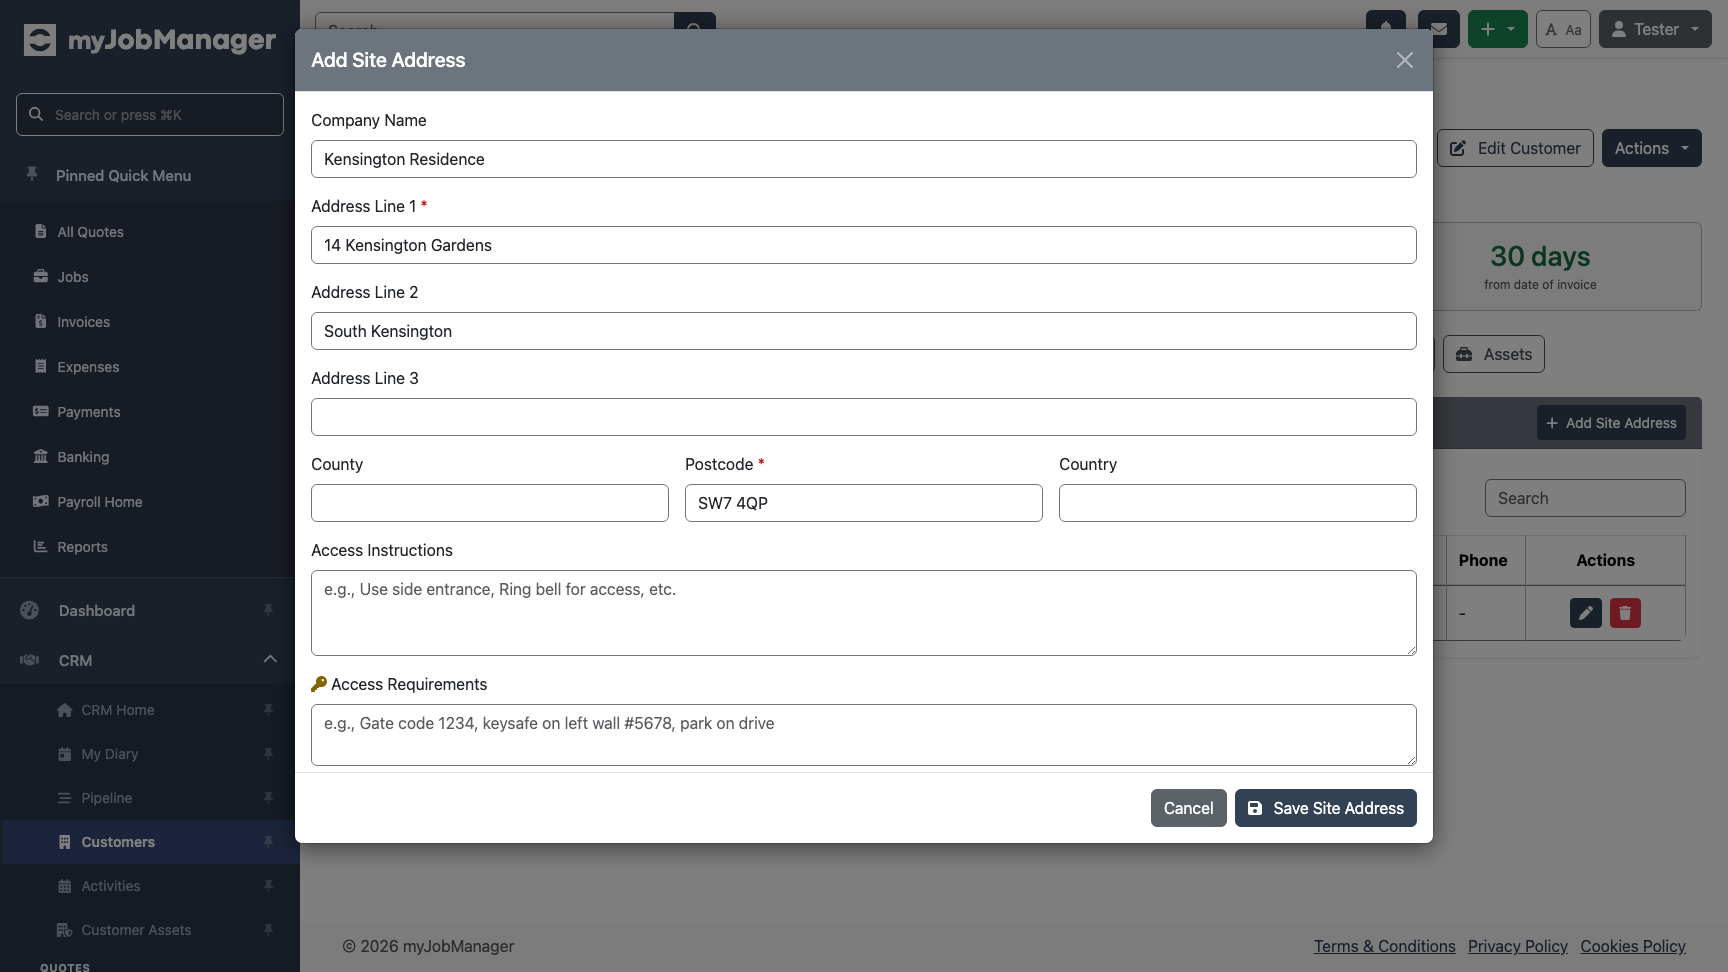 1 Enter the site address.2 Fill in the postcode.
 -
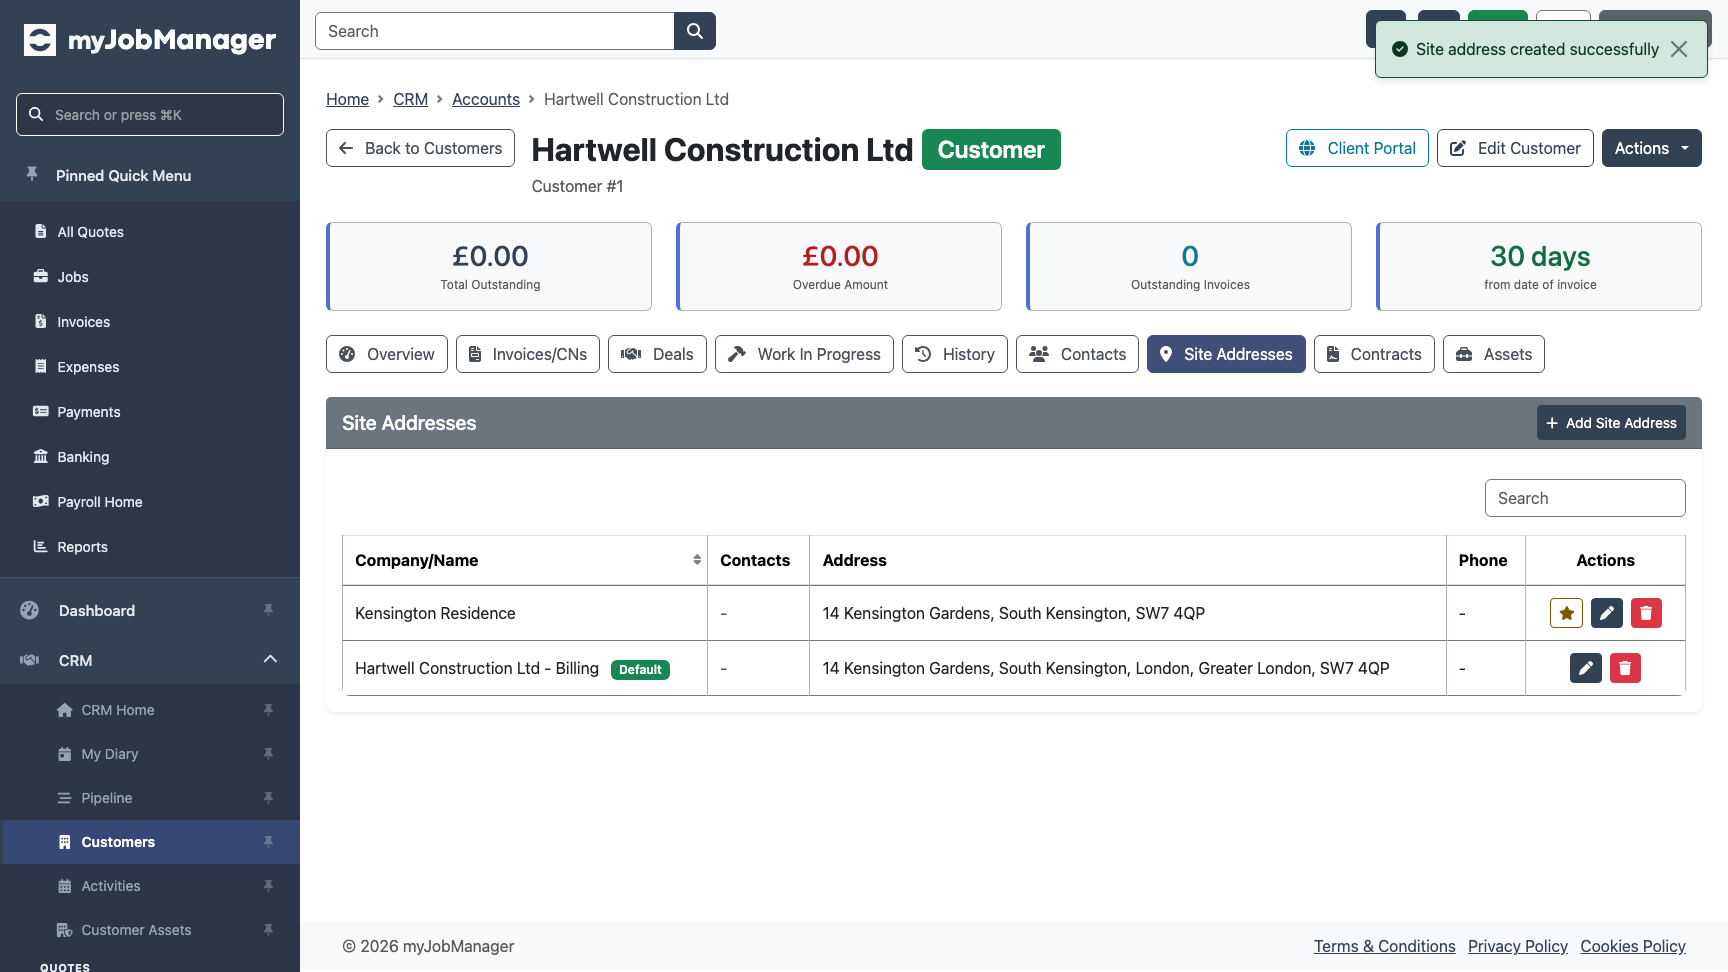
Verify the Site Appears
After saving, the site appears in the Delivery Addresses table on the customer detail page.
-
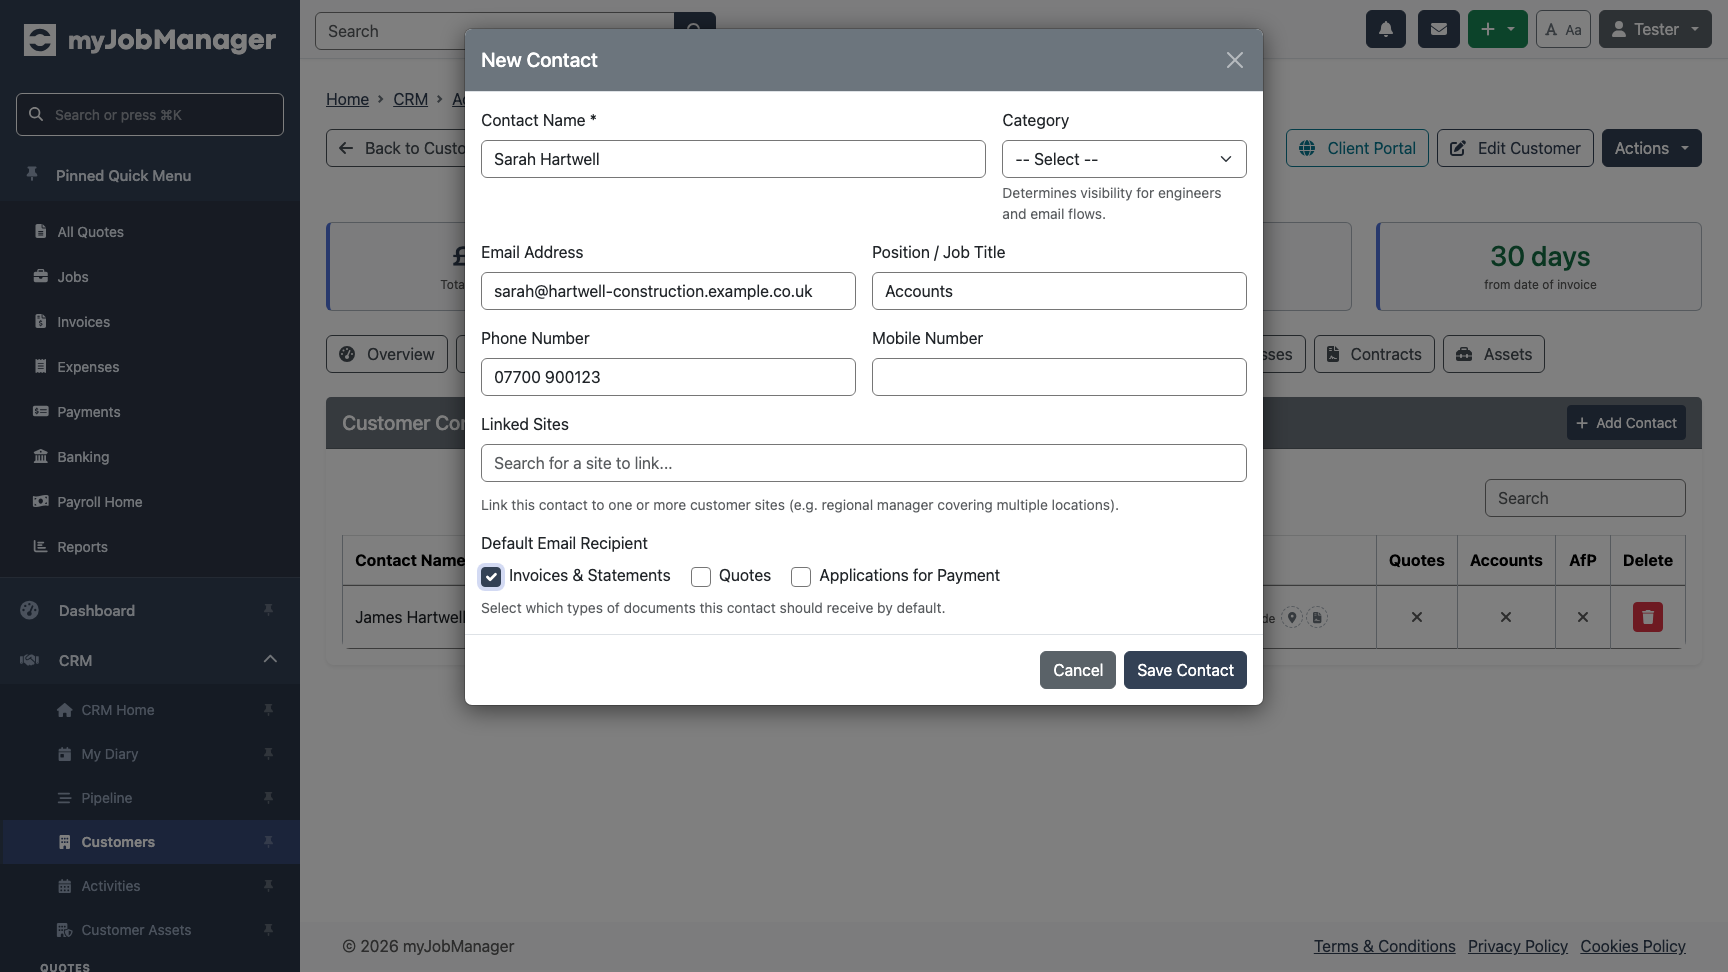
Add a Contact
Add a contact person for this customer. Contacts receive copies of quotes and invoices sent by email.
-
Configure Customer Settings
Set the customer's default payment terms, VAT treatment, and any special notes. These defaults apply automatically when you create quotes and invoices for this customer.
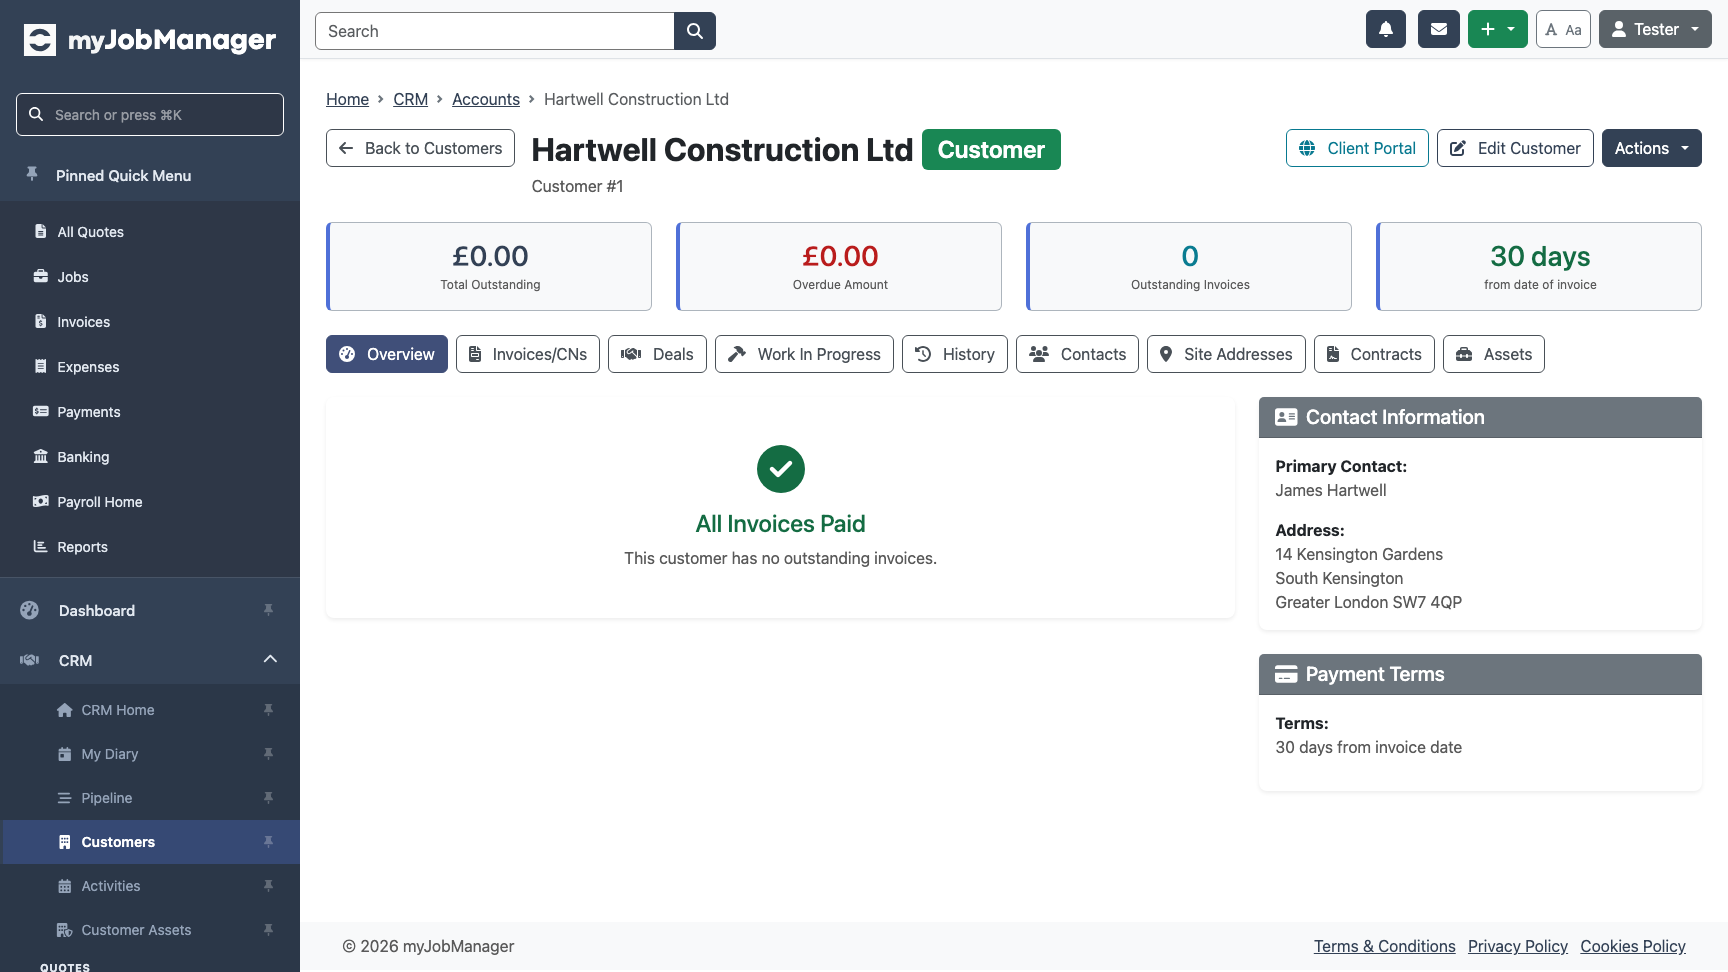 Tip Payment terms set here will auto-populate on new invoices, saving you time.
 -
Allocate a Price List
Assign a price list to this customer so their agreed rates are used when adding items to quotes and jobs.
-
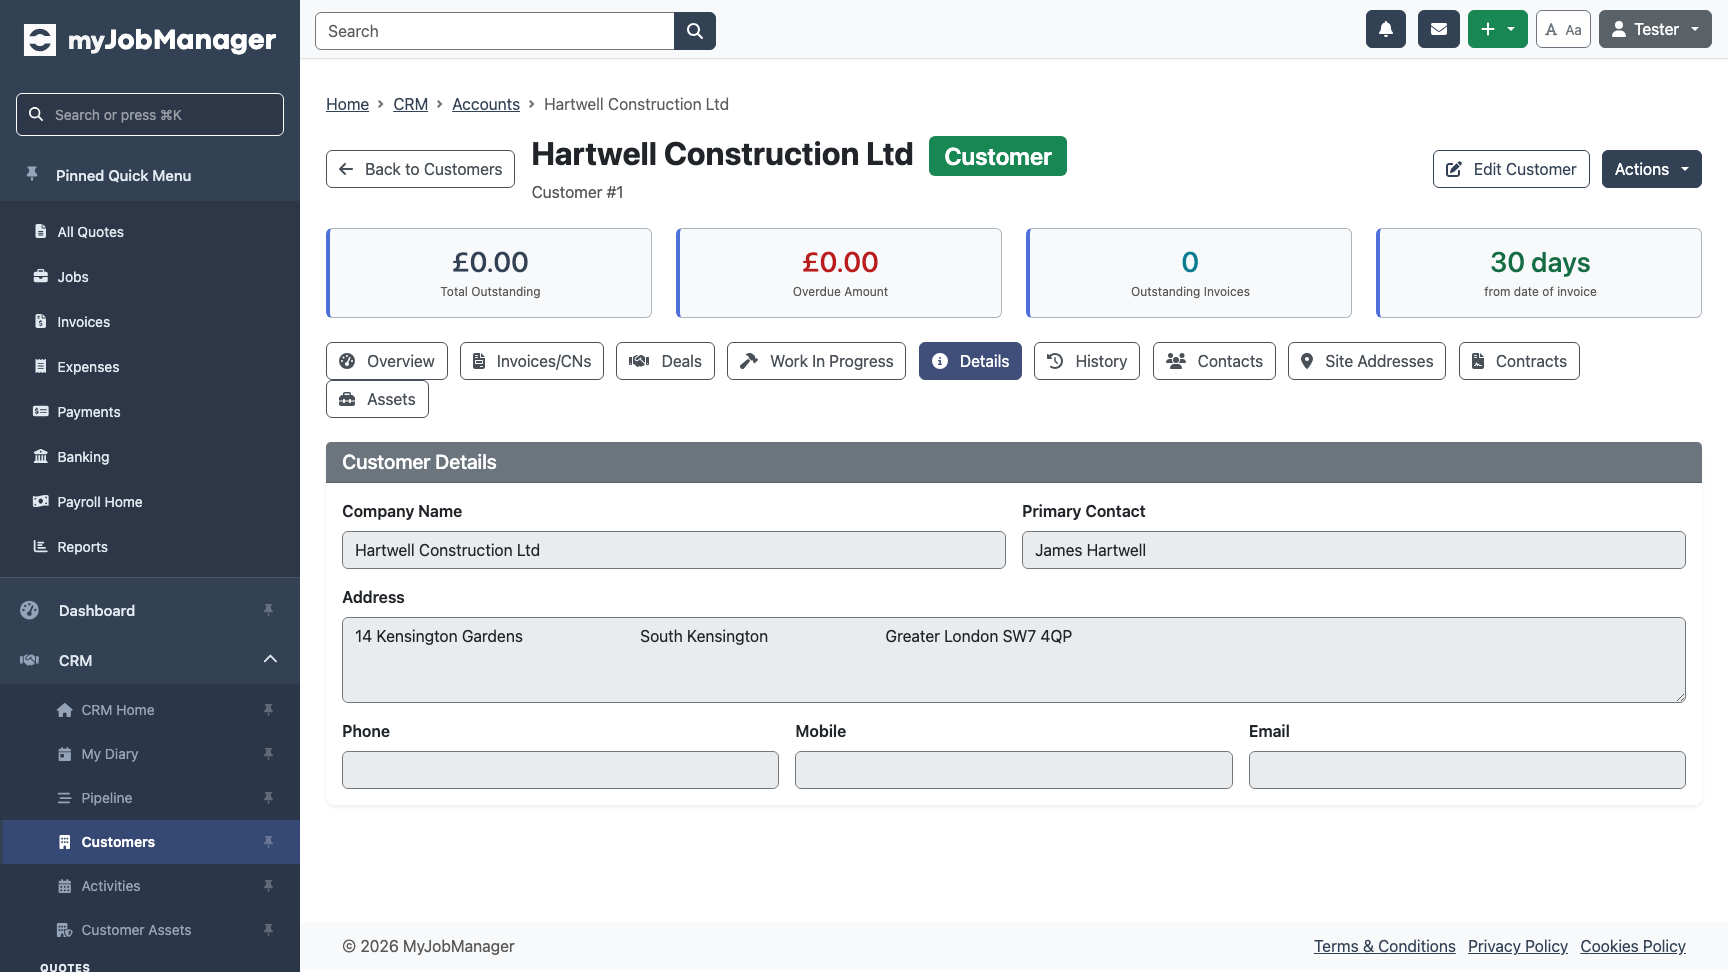
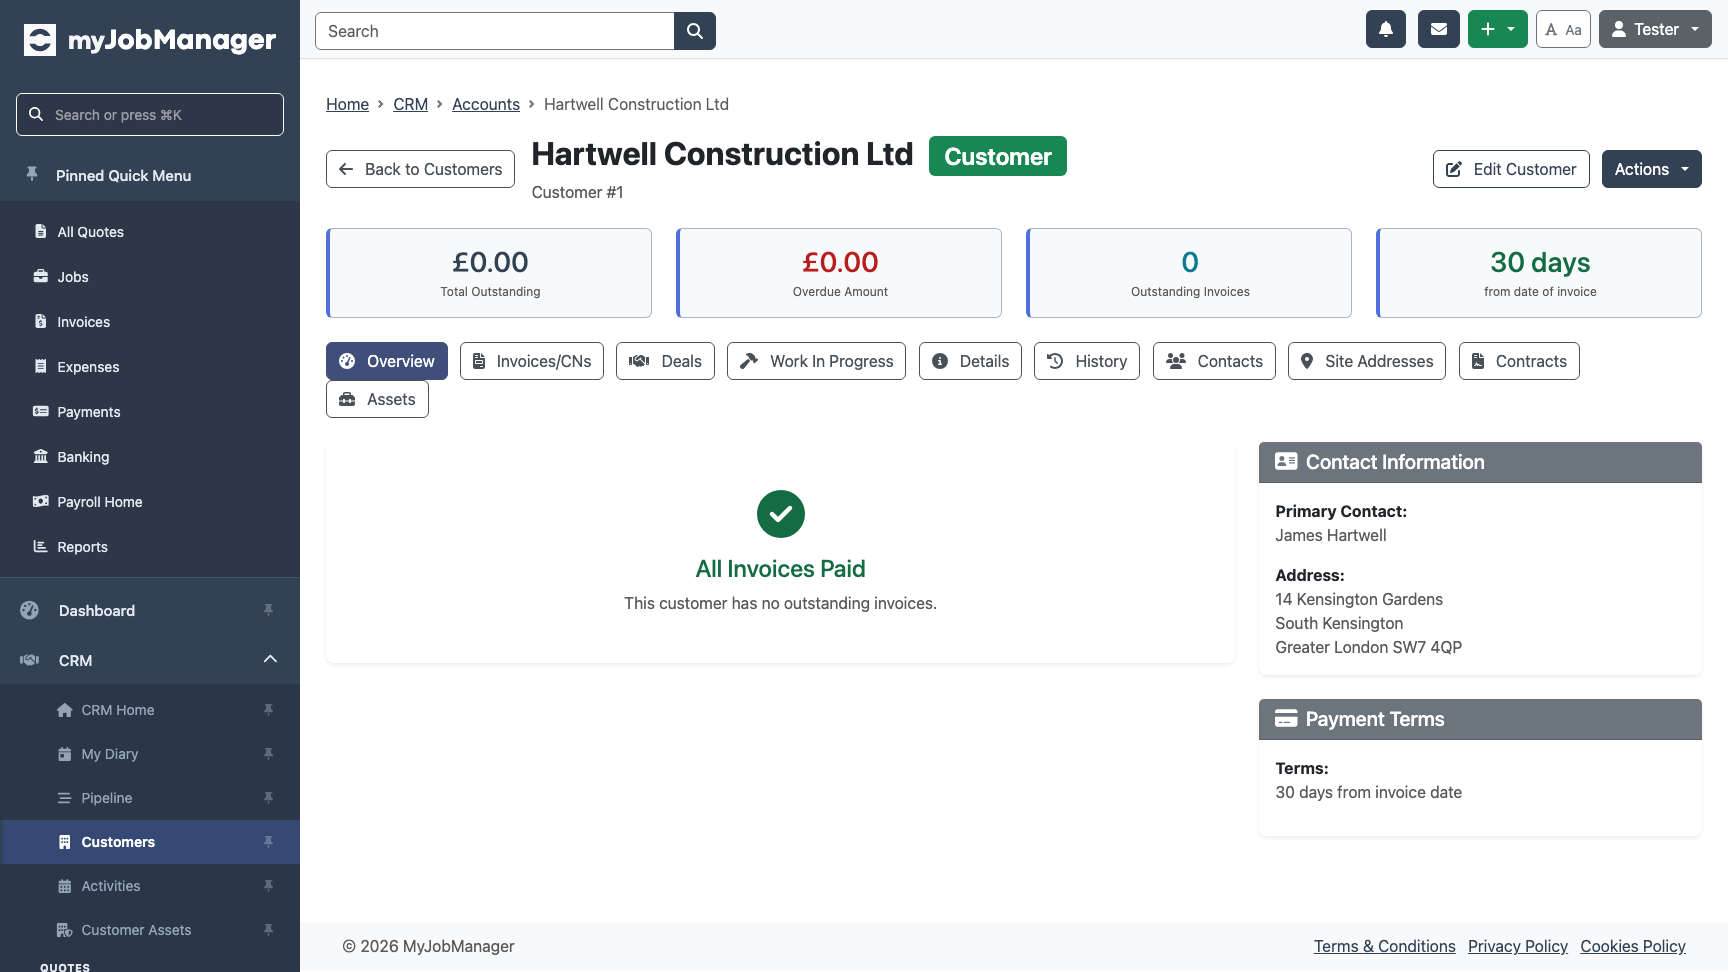
Review the Customer Overview
The customer detail page shows a complete summary: company information, sites, contacts, allocated price lists, and recent activity.
-
Verify in the Customer List
Navigate back to the Customers page to confirm your new customer appears in the table. You can use the search box to find them quickly.